4 Tutorial 4 – Re3D Request Fulfillment
Re3D Request Fulfillment
Amanda Shepp and Christopher Shepp
Welcome to Tutorial 4. In this tutorial, you’ll get a look behind the scenes at what happens here at RE3D when you submit a print request. Although we will be showing the process using the print from our first 3 tutorials, this tutorial does not require any prior 3D printing knowledge. The purpose of this tutorial is to demonstrate how we go from a print request to a physical object. If you want to skip ahead, our next active tutorial, Tutorial 5, will show you how to process more complex print files.
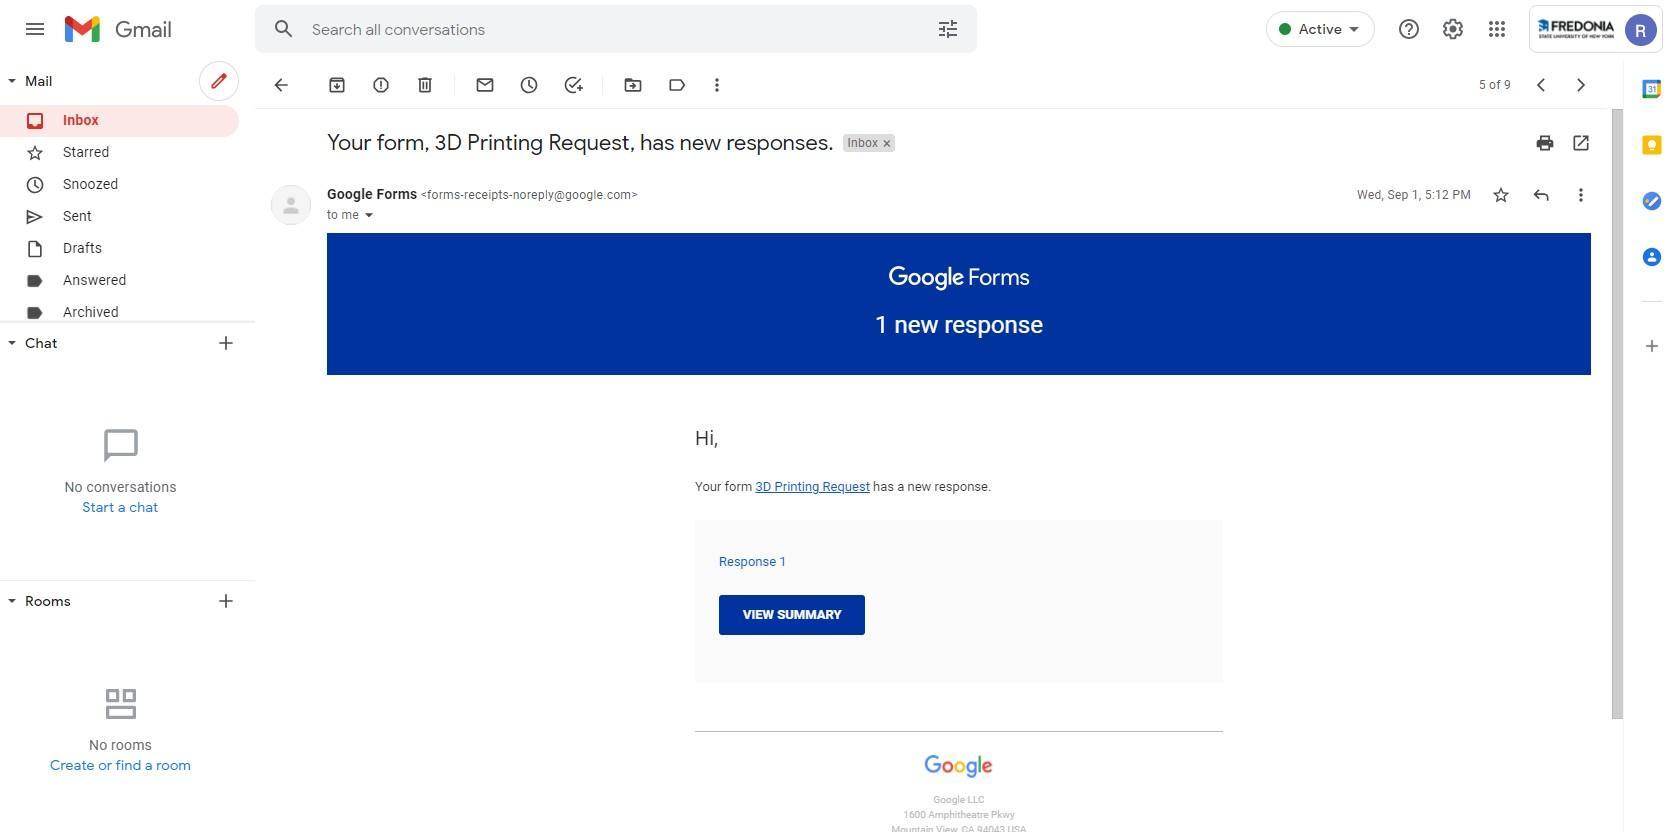
When you click the Submit button on your 3D print request, our staff is alerted by email. The first person to click through is our Re3D Faculty Supervisor, who will look at the file to ensure that it is appropriate to print. They are not looking to police your prints for offensiveness, but to make sure that what you are printing is safe. We are prohibited from printing anything that could be used as a weapon, or appears that it could be used as a weapon. Even if a weapon-like object is nonfunctional, if it could be used to impersonate a weapon or intimidate a person it will be rejected as per Re3D and campus policy. For example, we can print a two-inch sword for an action figure or model, but not an 8-inch realistic knife for a cosplay outfit.
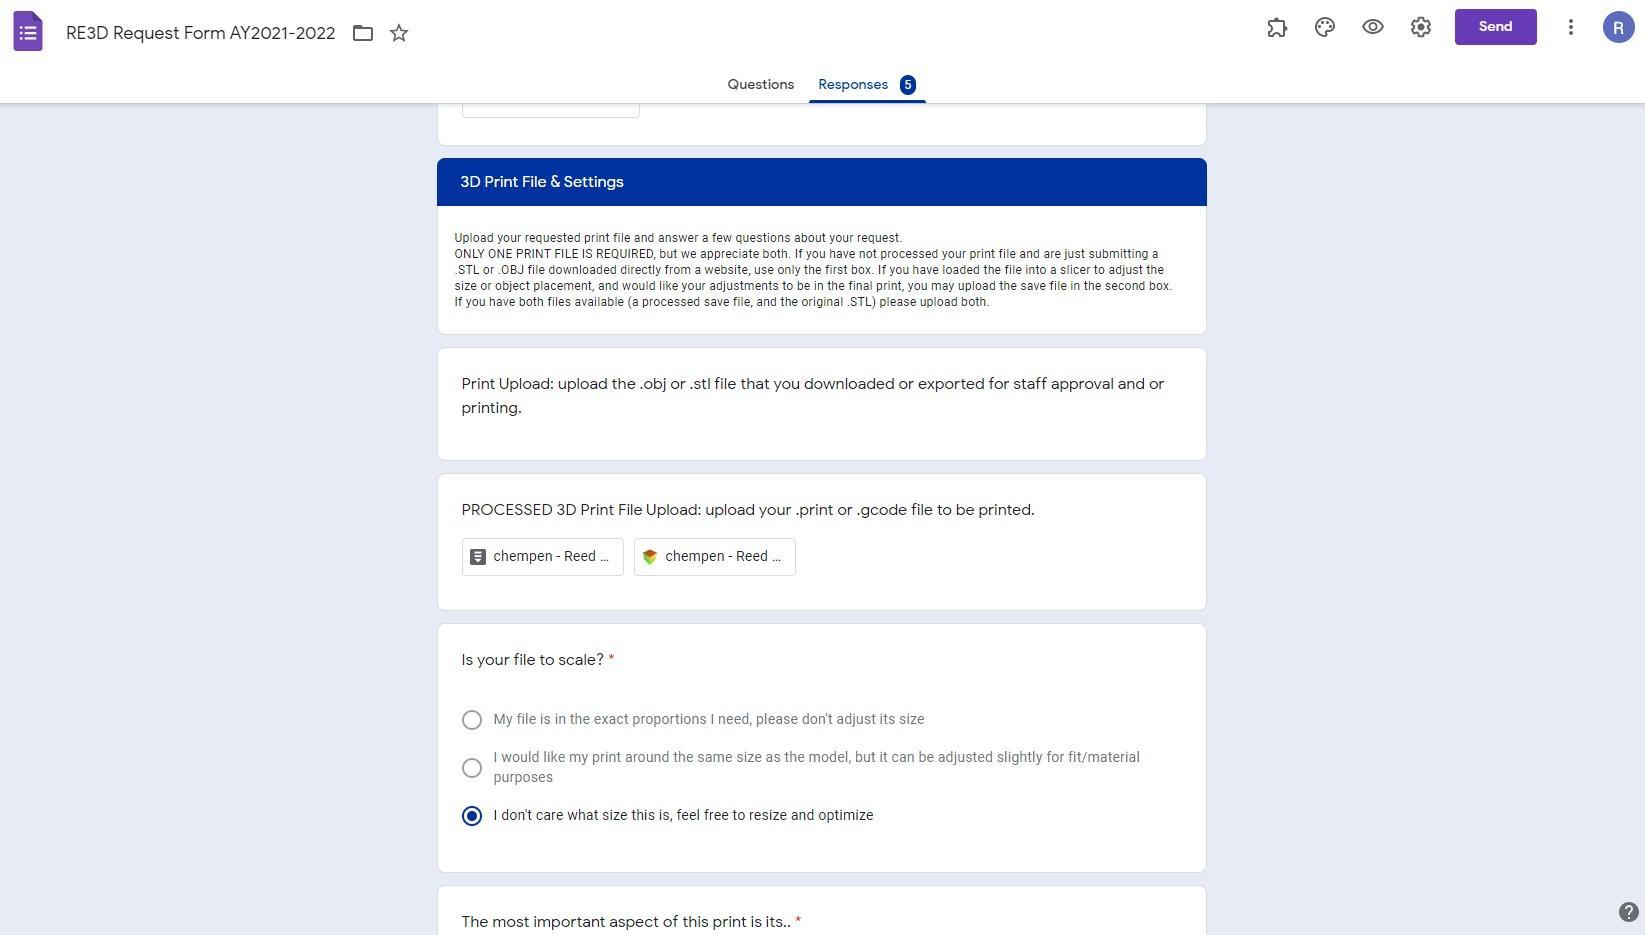
Once the print has been approved by the Re3D Faculty Supervisor, the print can be scheduled. Re3D student staff will click through to see the responses on the request form and will check the file in MakerBot Print to ensure that it is under the 80-gram limit. With that complete, Re3D staff will send out the first email, letting you know when your print is scheduled.
To begin the print fulfillment process, the file is opened in MakerBot Print and exported as a finished .makerbot file onto a flash drive.
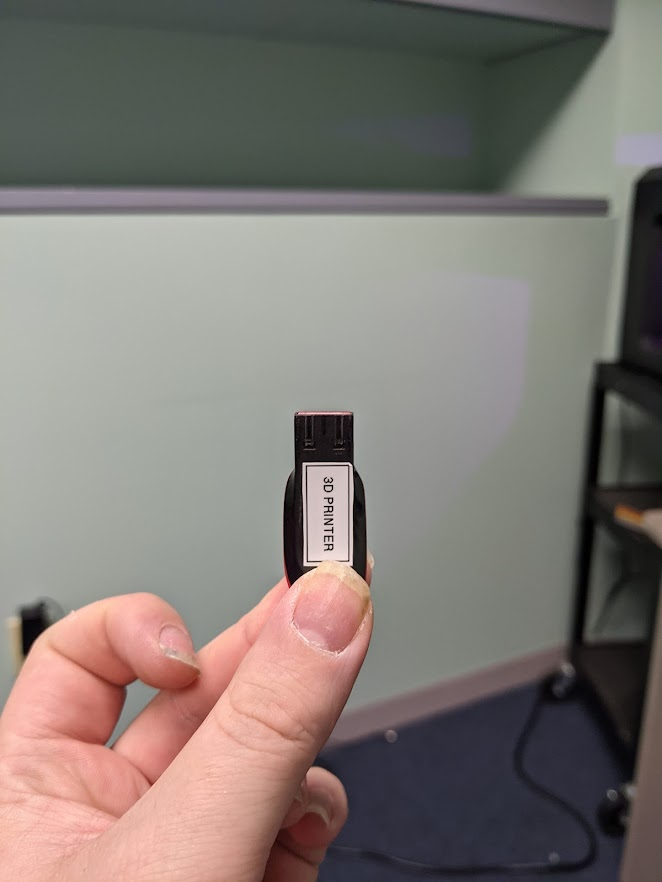
The Flash drive is then plugged directly into the MakerBot 3D printer, and we can select the first menu option, print.
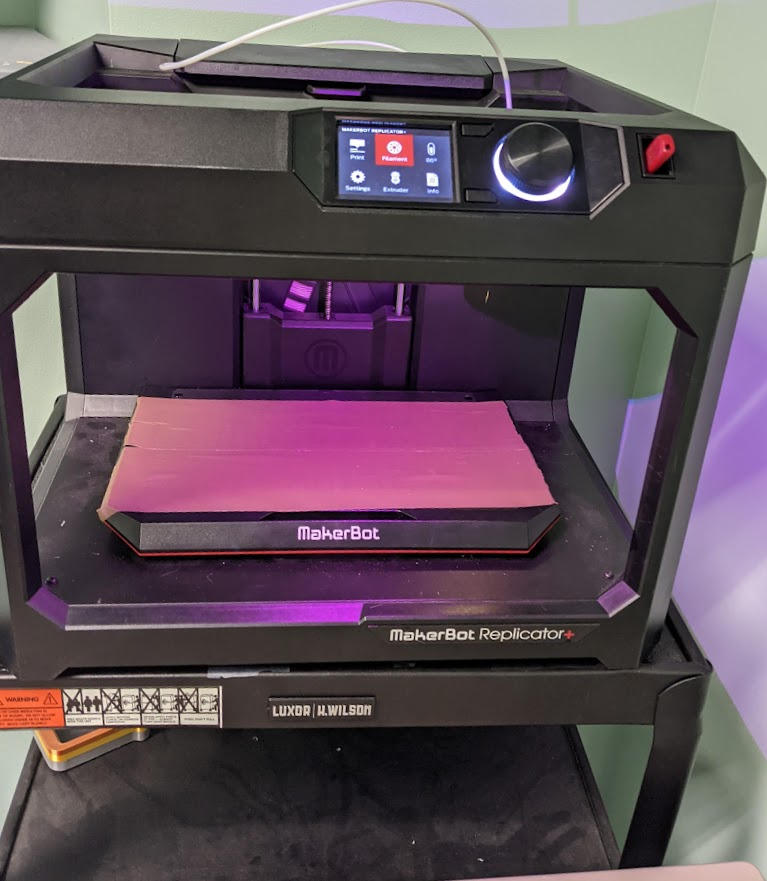
The MakerBot can print from a USB drive, a network connection, or its internal storage (which comes packed with a few test prints).
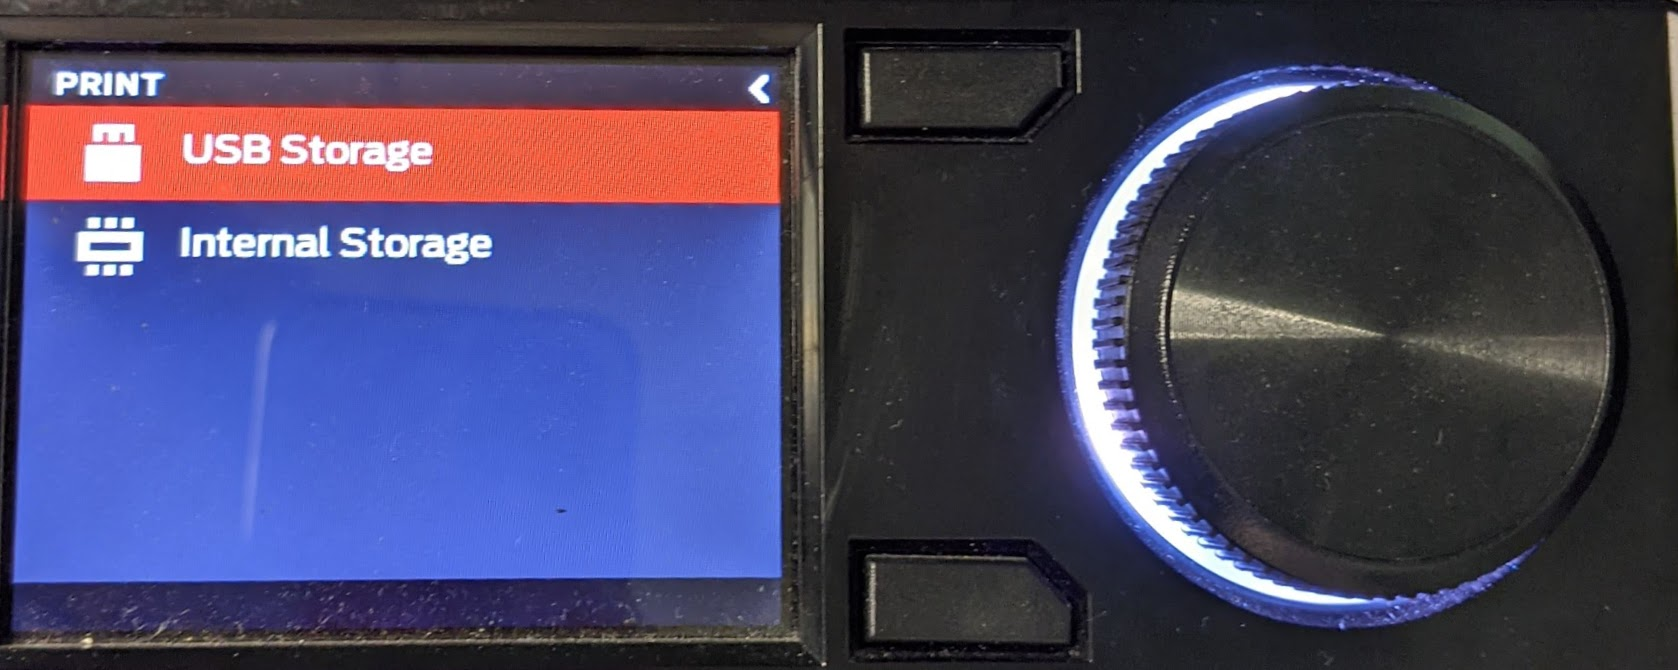
Selecting USB storage, the screen shows a thumbnail preview of all the prints that are stored on the thumb drive.

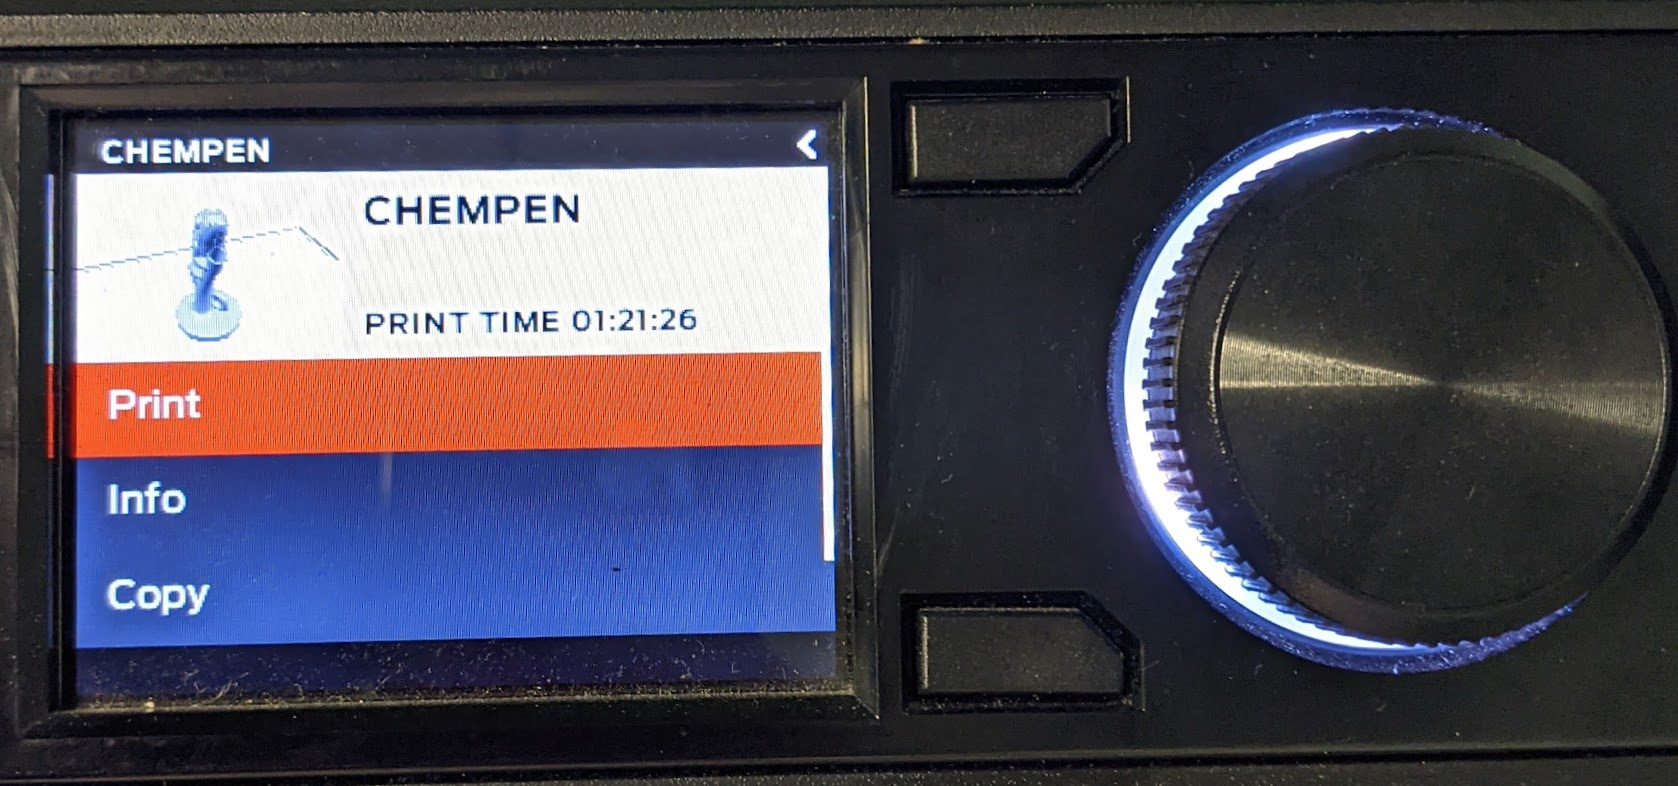
When the desired print file is selected, the user can see a better thumbnail, and the estimated print time (one hour, 21 minutes, and 26 seconds). The info option lets the user look at other details of the file’s metadata, while the copy option allows the file to be added to the printer’s internal storage. All that’s needed to start printing is to select and click on the Print option once more, and the printer will work its magic.
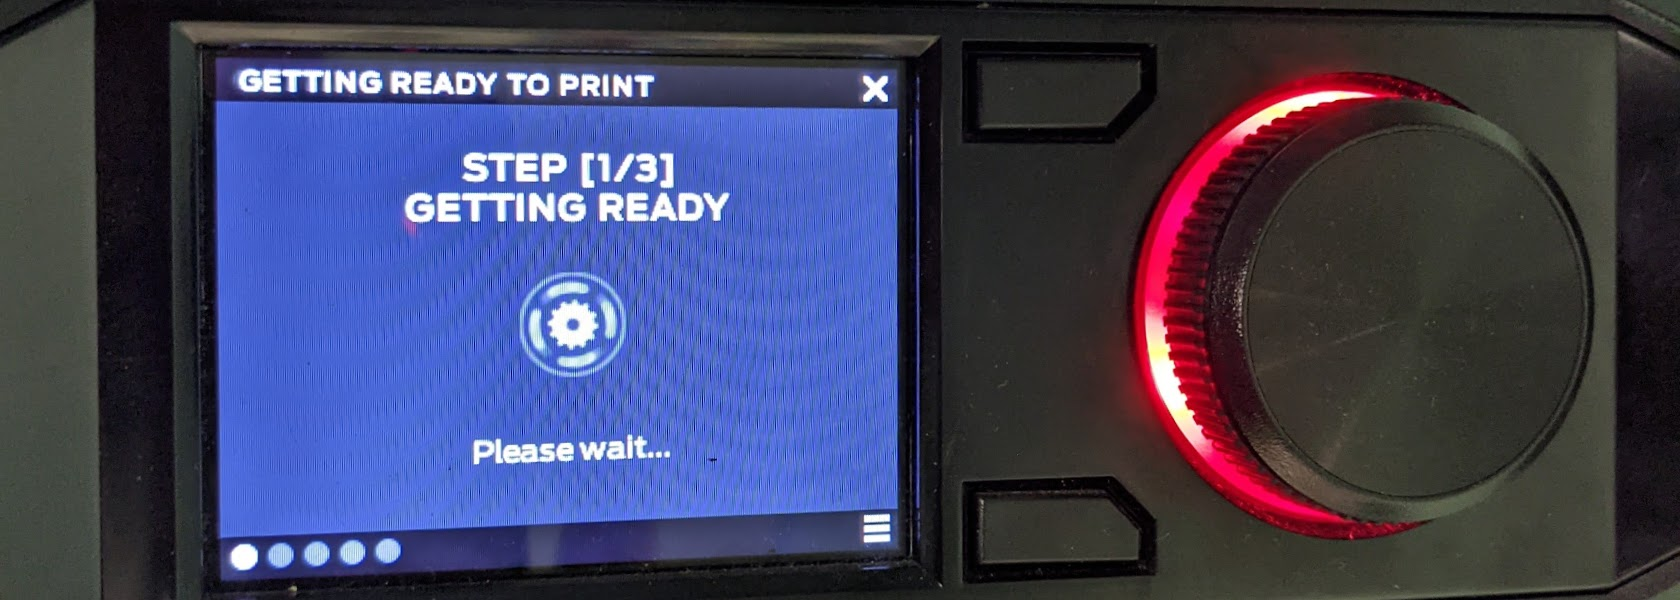
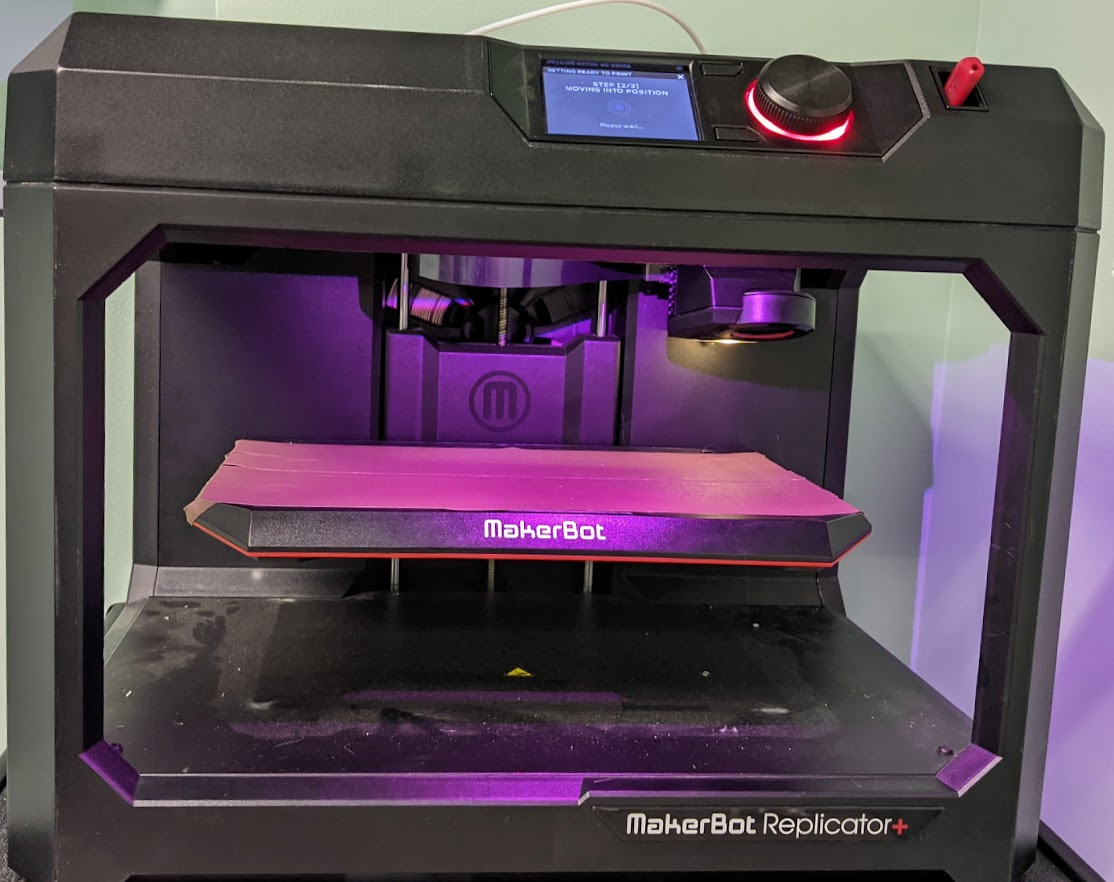
The first part of that magic, however, is getting ready. This means the printer is copying the path it will need to follow from the file, which can take a few minutes. Notice the knob has turned red? That means an active print is happening.
Next, the printer needs to move into its starting position.
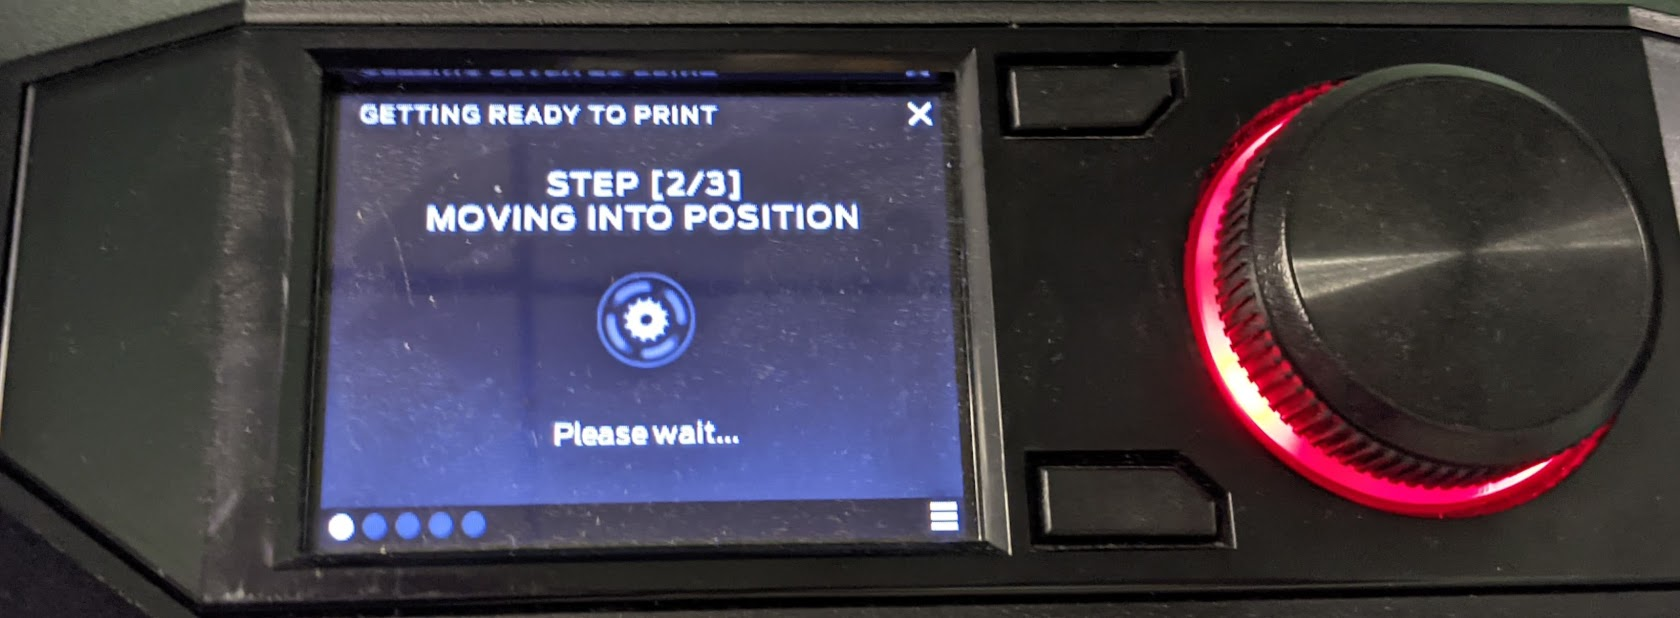
The build plate will lift until it reaches the print head (the part with the metal nozzle). When it reaches the top, it lowers by a preset amount to give the nozzle room to move above the plate. This is called the Z-Offset. The Z-Offset is extremely small and must be precise, it’s usually around .002mm, just slightly thinner than a piece of paper. If the Z Offset is too large, the melted plastic won’t stick to the build plate meaning the print will warp or get pushed out of position. Too small of a gap and the nozzle will drag on the build plate, damaging the plate and causing clogs of filament inside the printer. Most commercial 3D printers require you to manually level the build plate to the perfect height, but the MakerBot Replicator+ does this automatically.
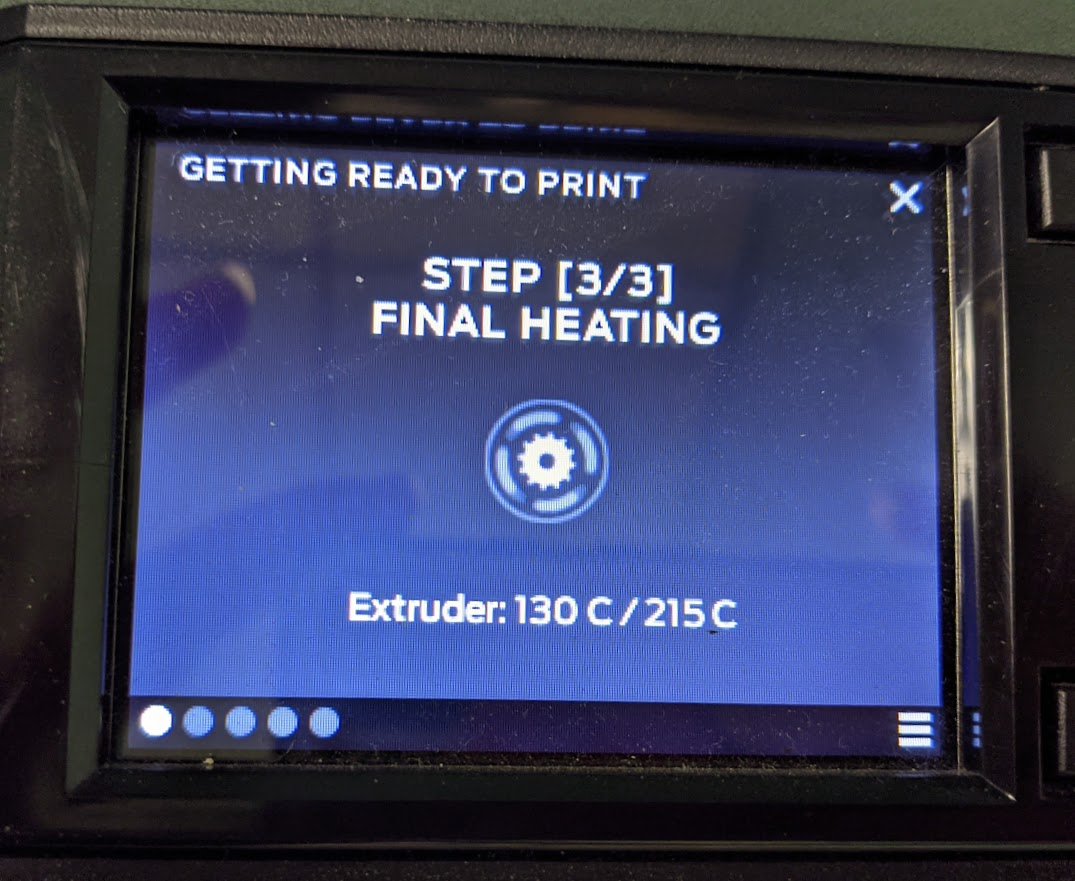
The final step is heating. To melt the plastic filament the print head and nozzle must heat up to 215°C (419°F). The MakerBot Replicator+ uses a small hot end, so it doesn’t heat up the room, but you do not want to touch that nozzle while it’s hot, ouch.
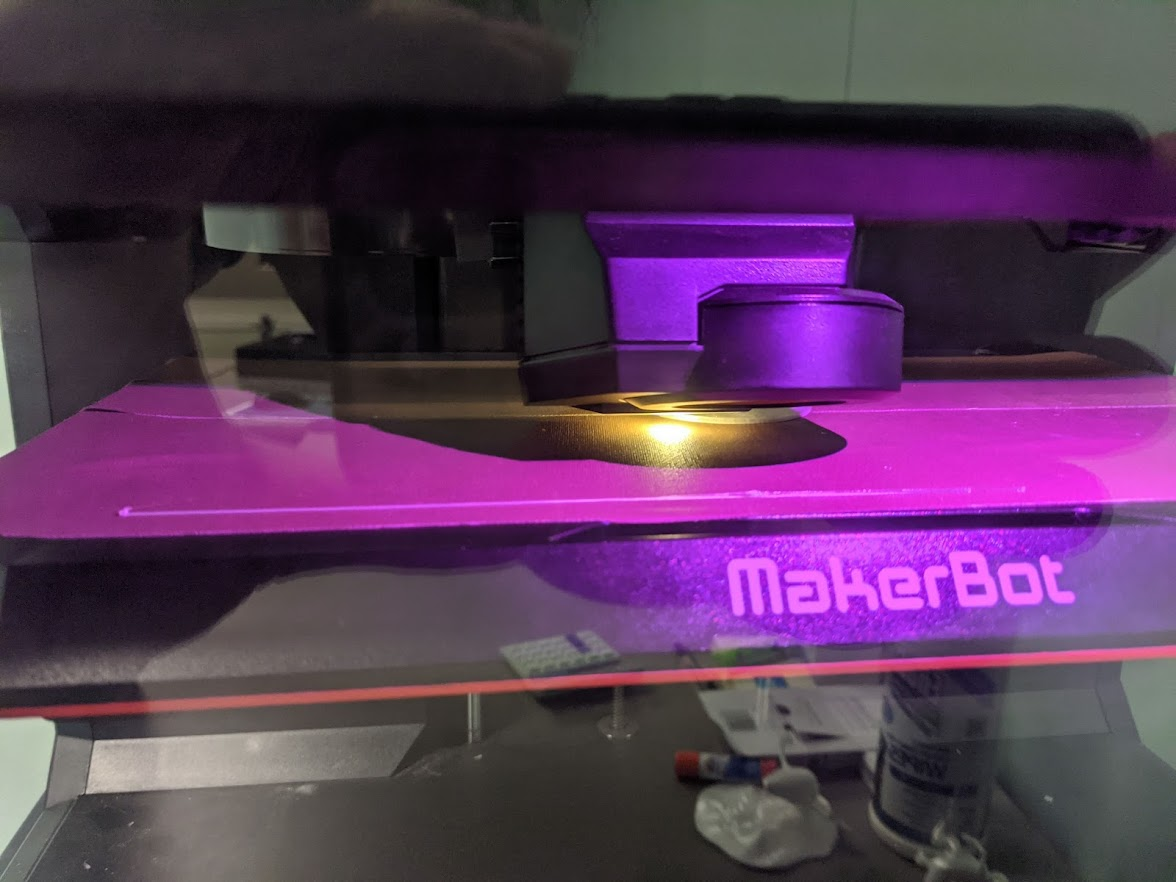
When the printer is heated, it begins the printing process. First, it lays out a single line of plastic to purge any PLA that might have been in the nozzle from a previous print. Once a print begins we place the printer in a plexiglass enclosure. This prevents any stray breezes from causing the print to cool unevenly (another cause of warping).
Next, it outlines the raft section that it constructs under the model. It goes around five times and then begins building stripes down the center to support the model.
Once the bones of the raft are complete, the stripes of filament become much smaller. The printer lays down streams of PLA about .002 mm in circumference, compressing them onto and into the layer below them to create a solid surface of the raft.
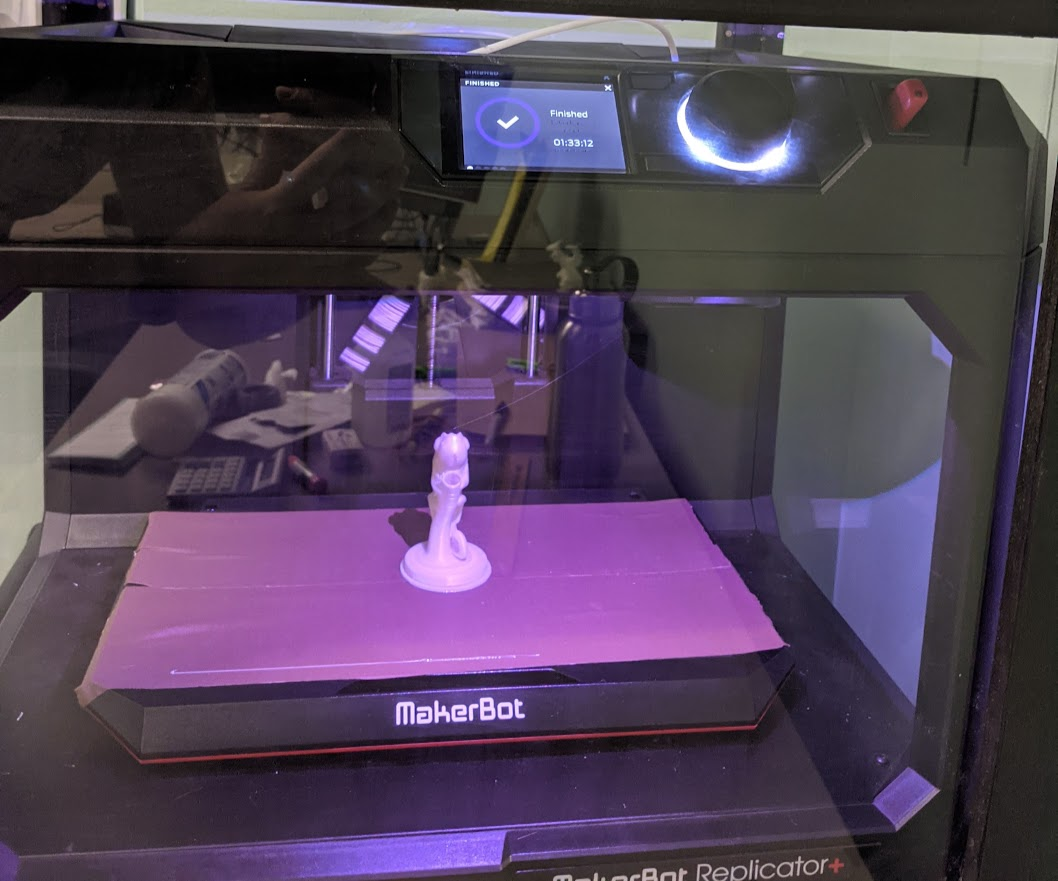
Over the next hour, the printer continues its work. The build plate lowers 002mm, and the outlines of that layer of the model are put down (the shells) and geometric supports are drawn within the border (the infill). This process repeats one .002mm layer at a time until the entire object has been printed, and the printer announces that the print is complete.
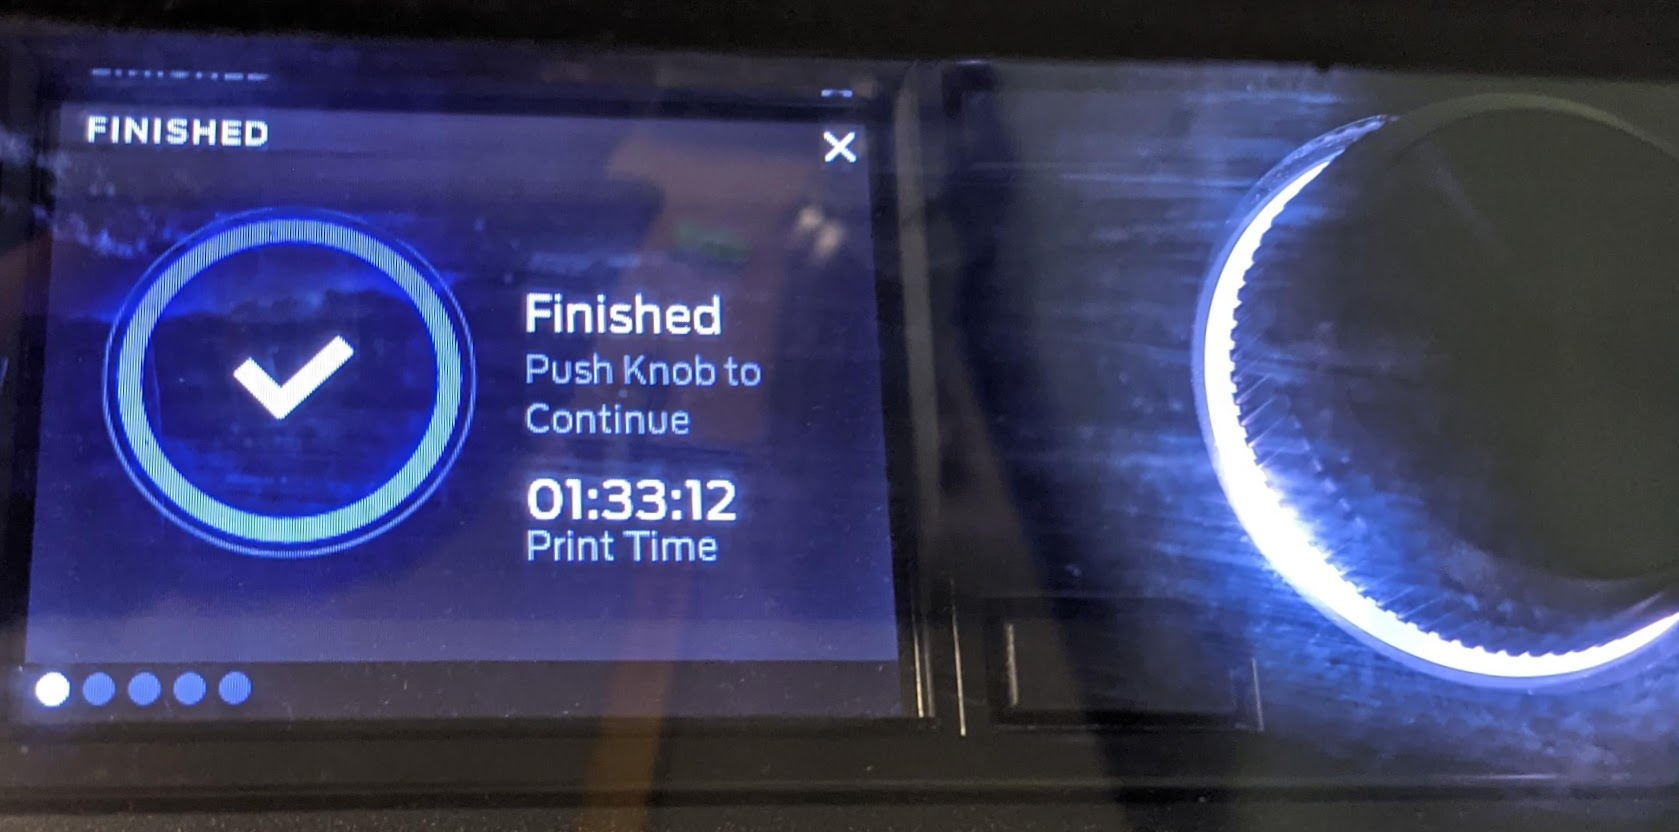
And there, on the build plate, is the finished print!
The printer’s encasement can now be removed and the printed object can be cleaned up for the requestor.

The entire build plate slides out of the printer for easy and safe removal of the printed object.
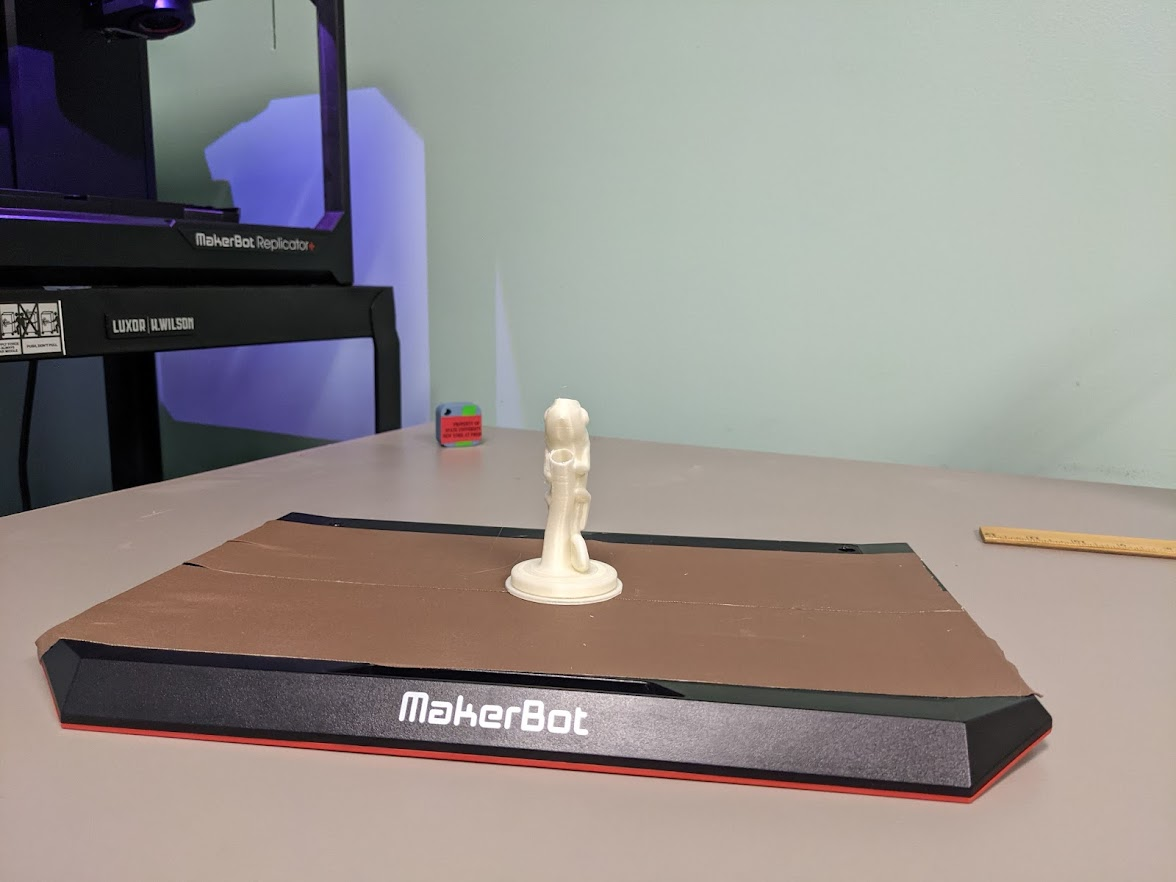
And there we have our print, but it’s not quite ready yet. First, we have to clean it up.
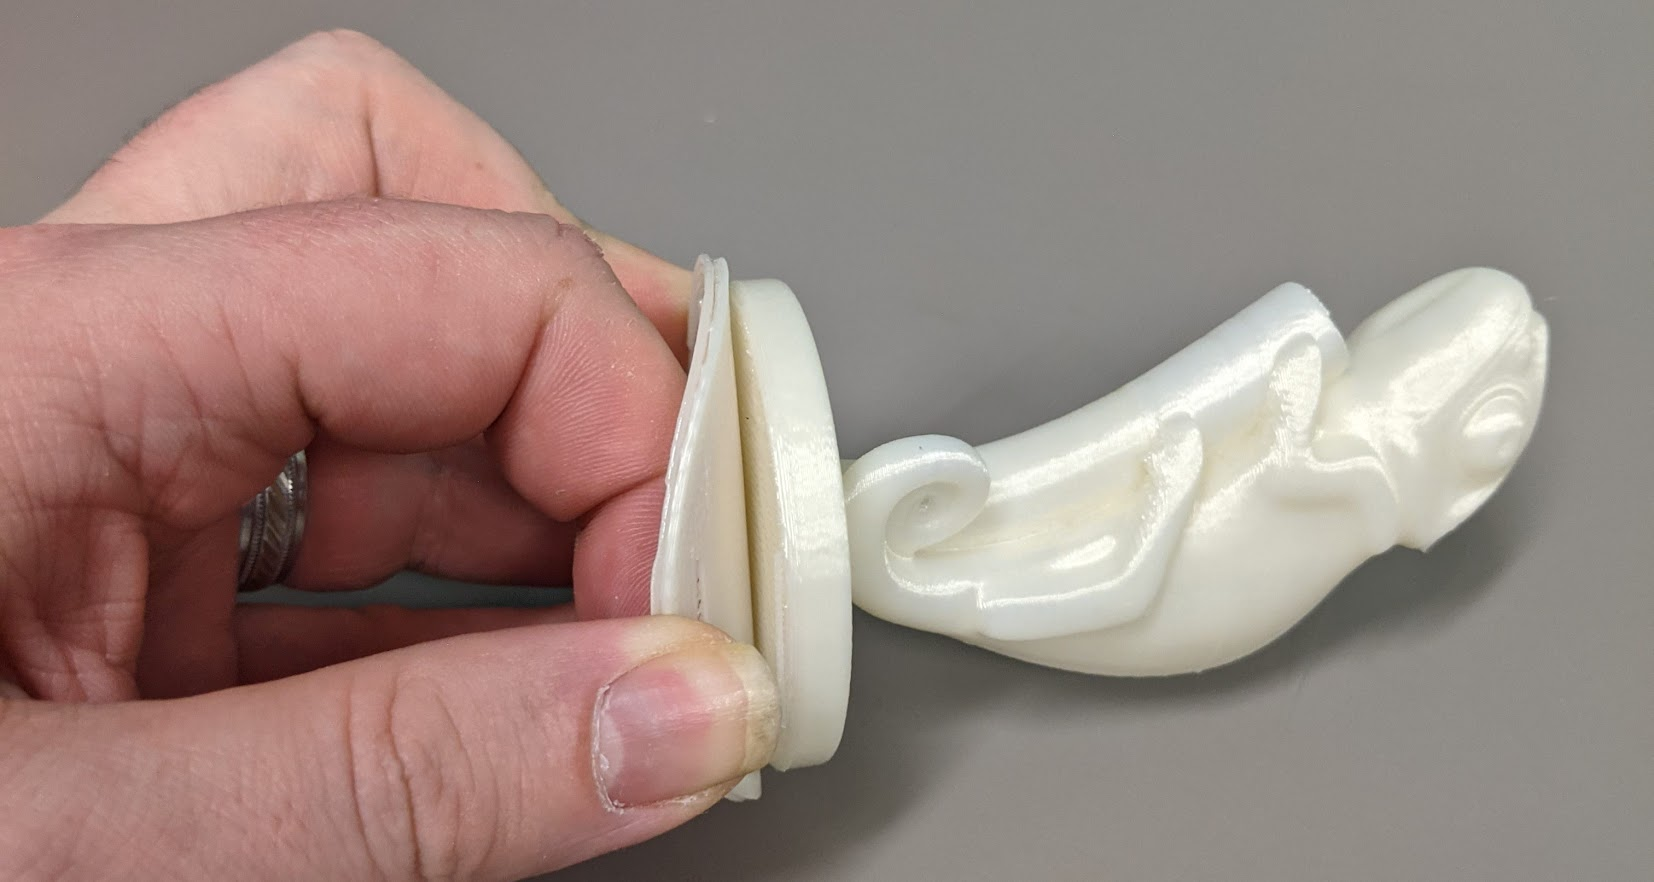
The bottom of the raft shows those initial outlines and bones that the printer started with. This circle must be removed.
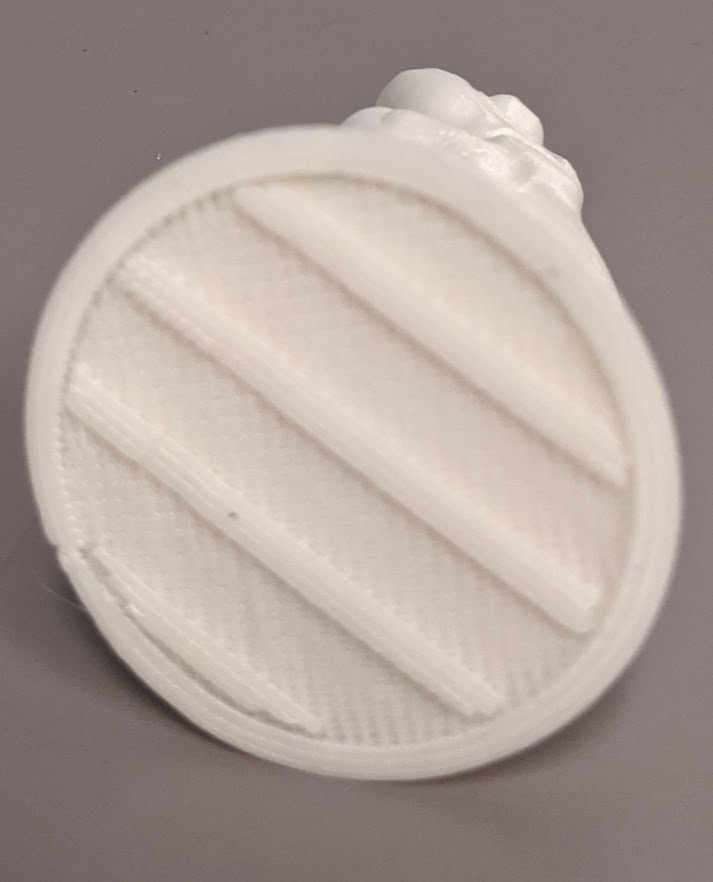
Fortunately, because of the increased offset between the bottom layer of the model and the top layer of the raft (we used an additional .35mm for our settings), it’s usually pretty easy to peel away by hand. Warping can cause the raft to completely fuse with the model in some areas, but this print came out very well.
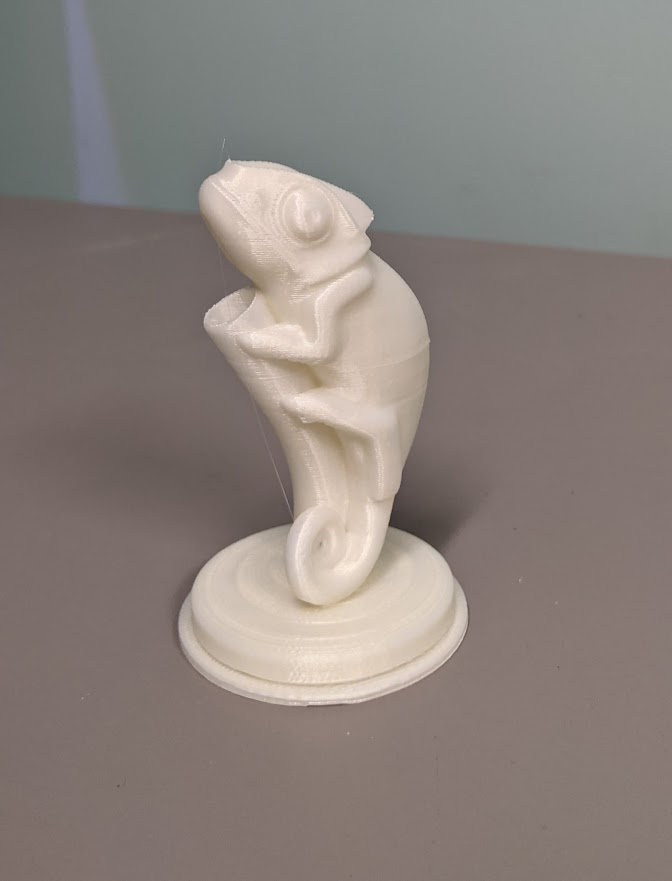
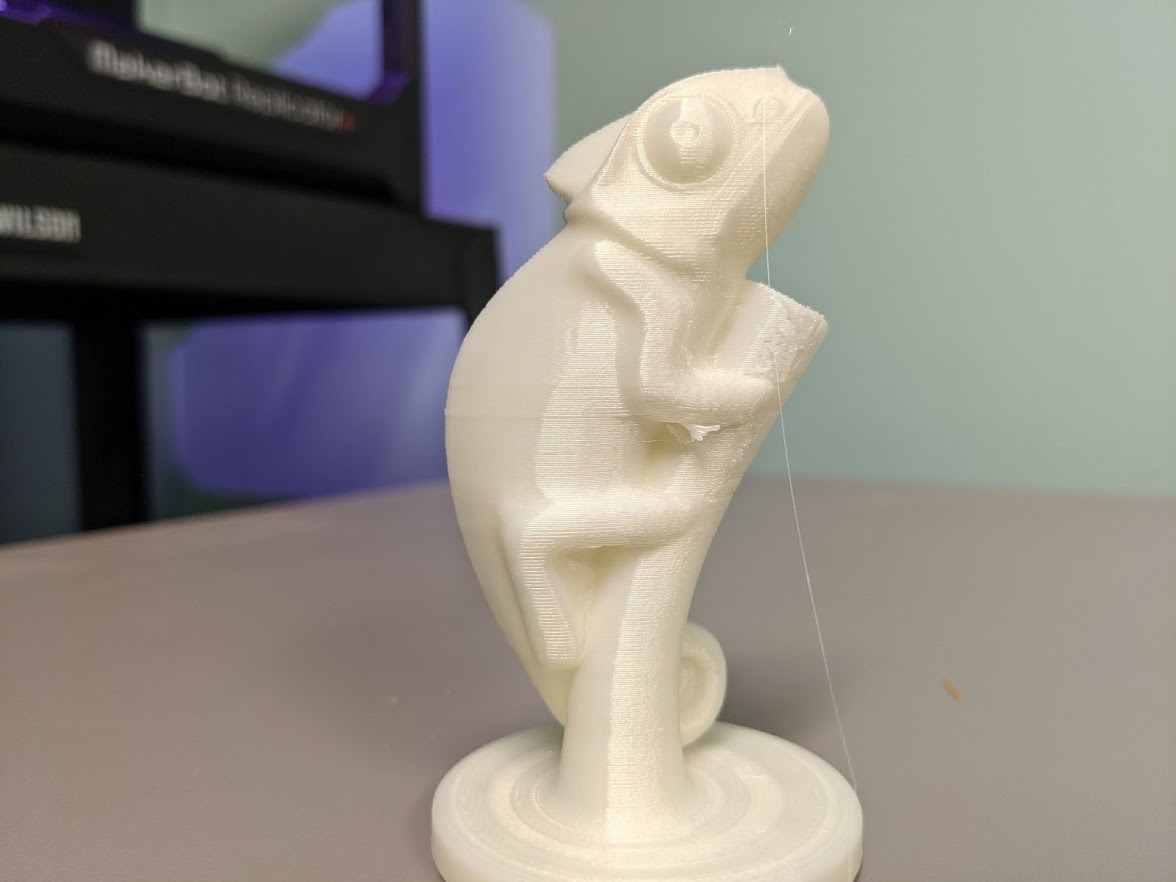
Now that the raft is removed, the print is almost ready to be delivered. There are a few more printer errors to clean up, though. There is a long thin string coming from the nostril and there is a small area of excess filament under the arm where some of the print sagged during the print process.
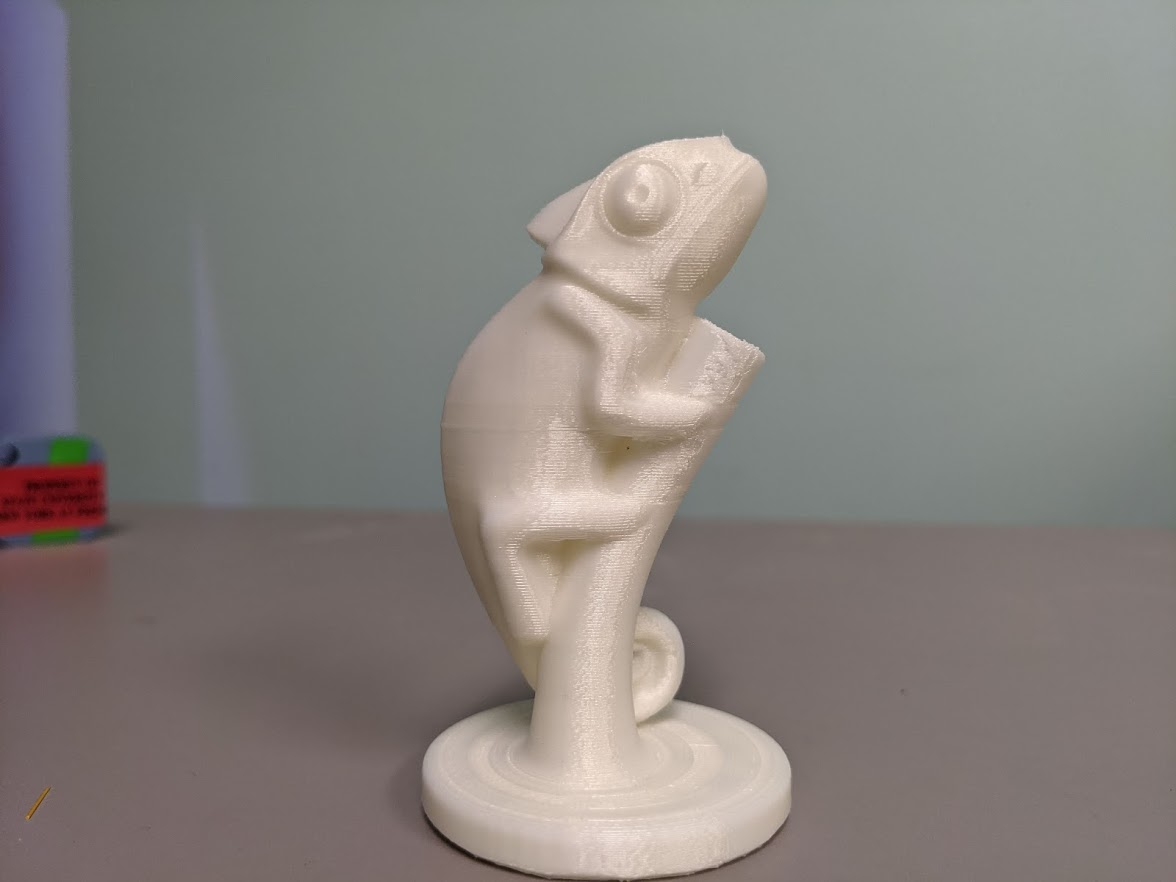
After using a small hand tool to cut away the thread and break off the sagging PLA, this print looks ready. Generally, small pieces of filament like this can be easily broken off with pliers, scrapers, or an X-acto knife. There are also a few imperfections, such as the visible layer lines, that can be cleaned up by thoroughly sanding the print with fine-grain sandpaper. Layer lines are also only an issue on FDM printers. Resin printers produce a smooth finish because of their unique process and associated materials, but they also have their downsides (toxic chemicals, lots of cleaning, risk of spilling) and Reed Library does not have one in their makerspace.
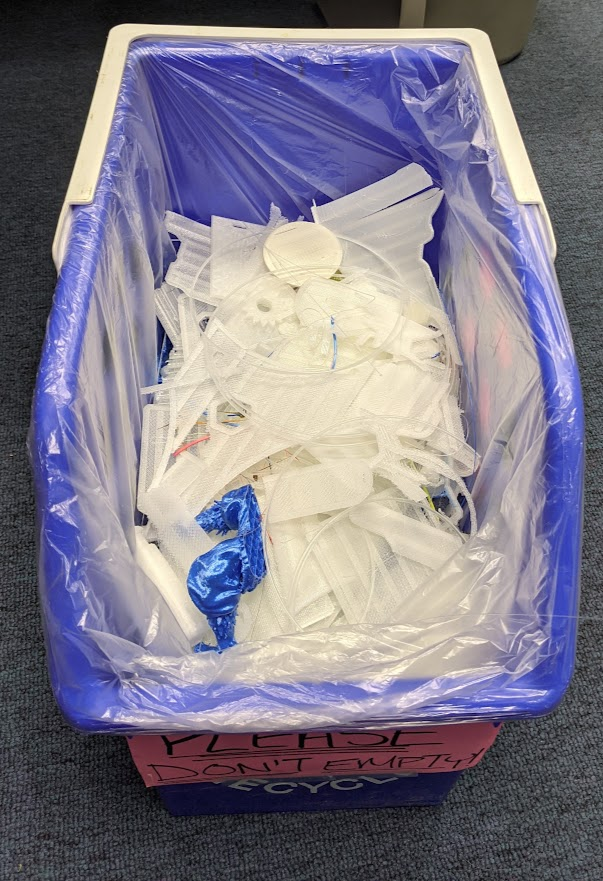
Wondering what happened to the raft? This one is small, but with almost 100 prints per year that waste builds up.
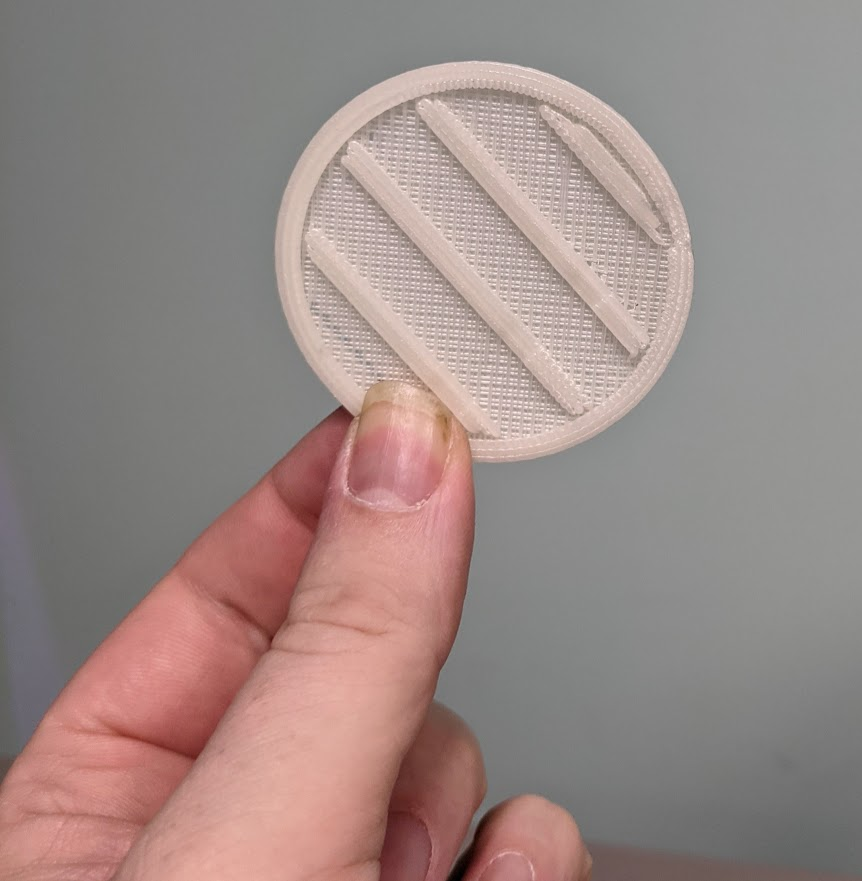
It does, but at RE3D we support green 3D printing initiatives. Rather than filling landfills with plastic as PLA is biodegradable under certain industrial conditions, Re3D collects all of our wasted PLA. Rafts, support material, broken filament, failed prints, spaghetti, all of it, goes in a recycling bin. When it is full, we mail it to a 3D filament recycling program where it will be melted down and re-extruded into new PLA.
With the print ready to go, we label a bag with the requestor’s name, tape the bag closed, and place it in the RE3D To Go pick-up location near the main entrance of Reed Library before emailing the requestor to inform them that their 3D print is ready for pick up.
Thank you for reading Tutorial 4, you now understand how a print request changes from a digital file into a real physical object. Please join us in Tutorial 5 to learn about more complex prints, including instructions for adjusting the scale and orientation of objects on the build plate, and breaking large prints into smaller, under 80-gram, requests.
Happy printing!
