1 Tutorial 1 – 3D Print Models
3D Print Models
Amanda Shepp and Christopher Shepp
In this chapter we are going to cover the process of selecting and downloading a viable 3D print.
When it comes to 3D printing, one of the first questions everyone asks is what can I, as someone who knows nothing about 3D design, 3D print? The answer is, surprisingly, almost anything. Sites like Thingiverse and MyMiniFactory house hundreds of thousands of digital items that you can download and print. Some designers charge a small fee for their files, but the vast majority of designs are available for free. So how do you choose what to print, or even what you can print?
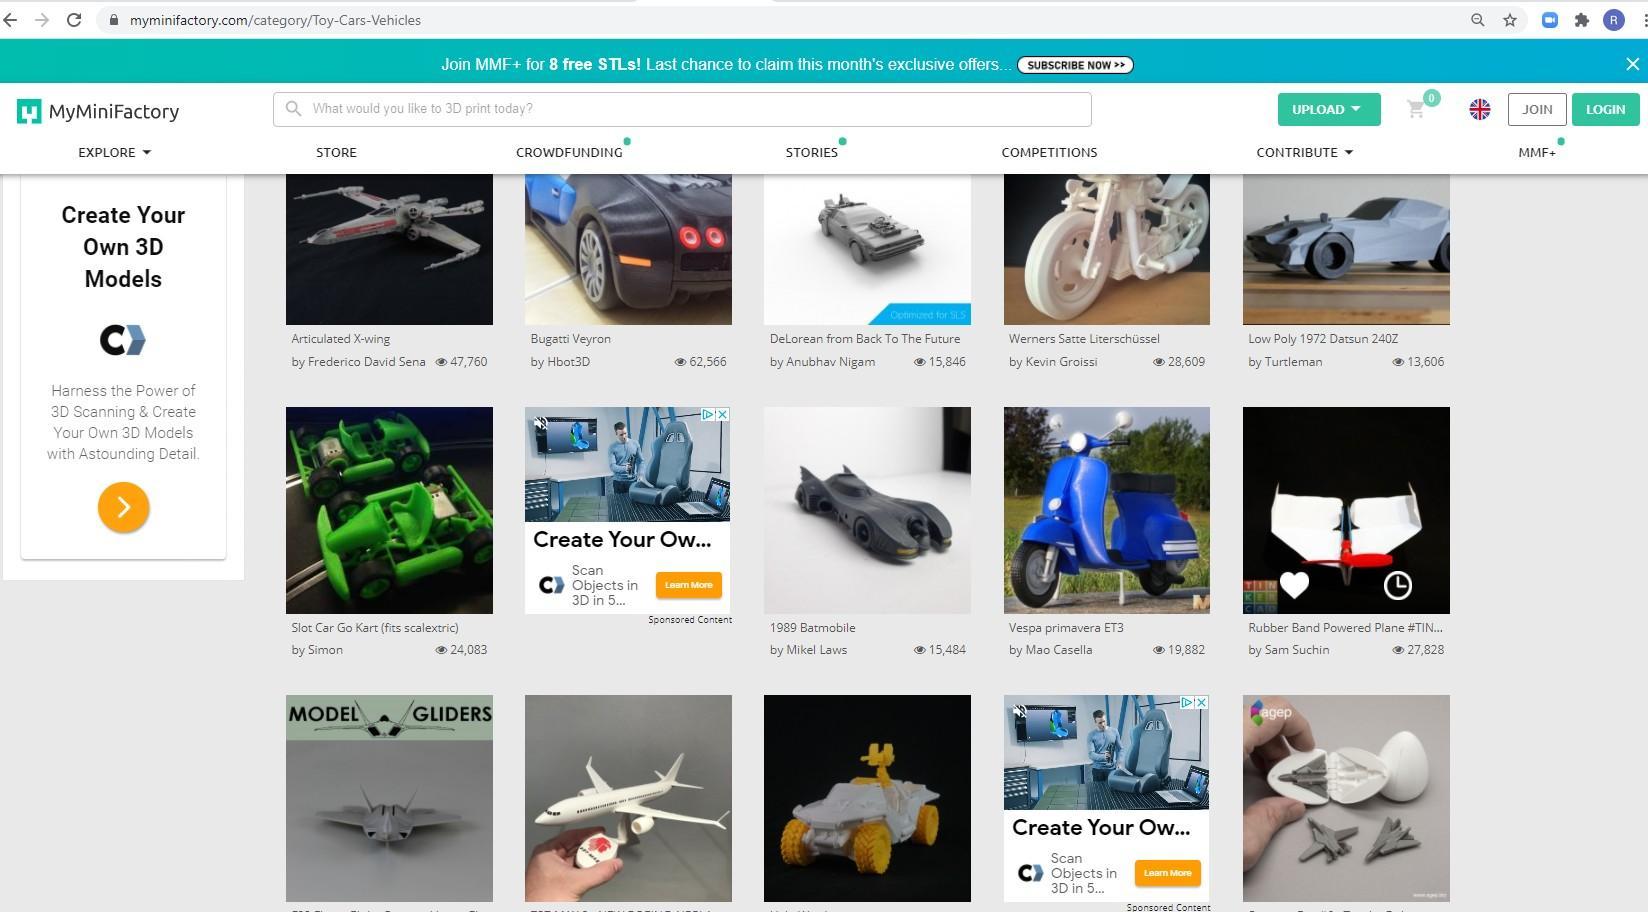
With a wide array of categories available on both sites, there’s no way this manual can tell you what you want to print. What we can tell you, however, is how to know what kind of prints will and won’t work. After all, anyone can submit a model to one of these sites and the quality control is up to the community, much like Wikipedia.
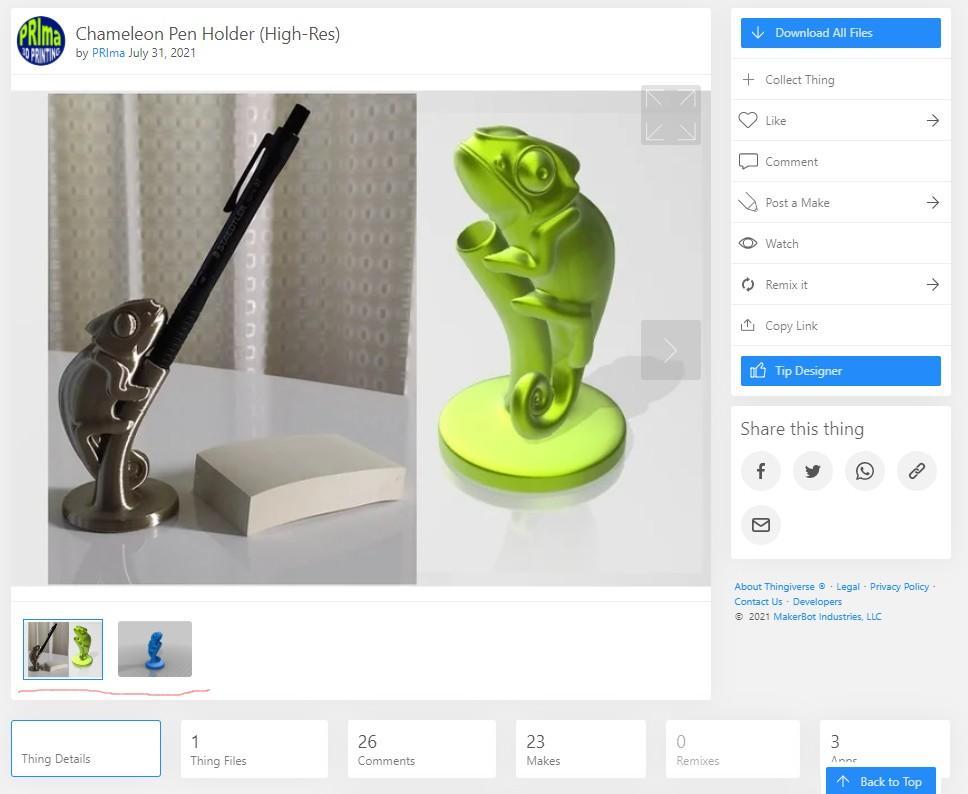
When you click on an object, the first thing you’ll see is the picture. Some objects will have many pictures, visible in the thumbnails below the main picture, and some will only have a few. However, a good sign that a print can be finished is a picture of an actual successful print, such as this chameleon pen holder, in use. When the only pictures available are a blue 3D rendering of the part, it’s very likely that the part has never been printed before, and it may not even be possible.
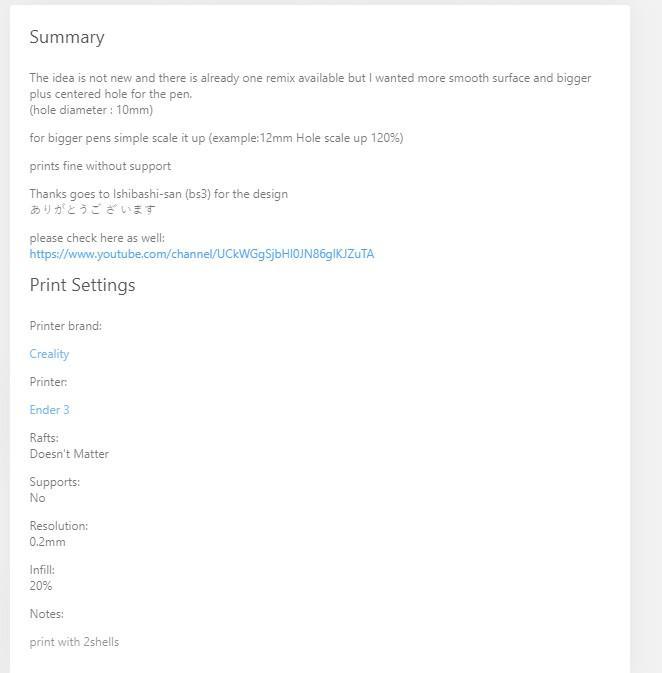
On Thingiverse, if you scroll down below the pictures you will find a series of tabs that can give you more information on the print. The summary gives some of the most important information. Besides the blurb written by the designer, which is sometimes helpful and sometimes not, the summary contains the print settings that the designer suggests you use.
Important details here include:
Infill – the density of material inside the model
# of Shells – how many outer layers of material they are
Material – is this print in PLA, ABS, or something else like TPU, or Resin
The last detail, material, can be very important to the success of your print. At RE3D we print with PLA, but just because a print was made or suggested for a different material doesn’t mean it can’t be printed here, there are however a few things to note.
ABS is a tougher material than PLA. Although it prints in the same method, and can be printed it will not be as strong or as durable as you might hope.
Resin is for a different type of printer. Resin printers can produce better detailed and smoother parts then the FDM printer at RE3D, but have downsides as well. Resin parts can be printed with PLA, but may not have the detail you want.
TPU is a rubber-like material. It’s pretty rare, but you may see files for flexible objects made of TPU, such as jelly sandals or bracelets. TPU items cannot be printed at RE3D.
You can also print in specialized filament material, like wood and metal. Both of these are composite filaments, meaning the filament is a mixture of PLA and finely ground material, such as metal shavings or sawdust, to create a filament that prints in a finished material similar to its source material. Wood filament can be sanded and stained like wood, and metal filament (RE3D has steelfill and woodfill filaments available for special projects) prints are heavier and can feel cold to the touch once they have been finished.
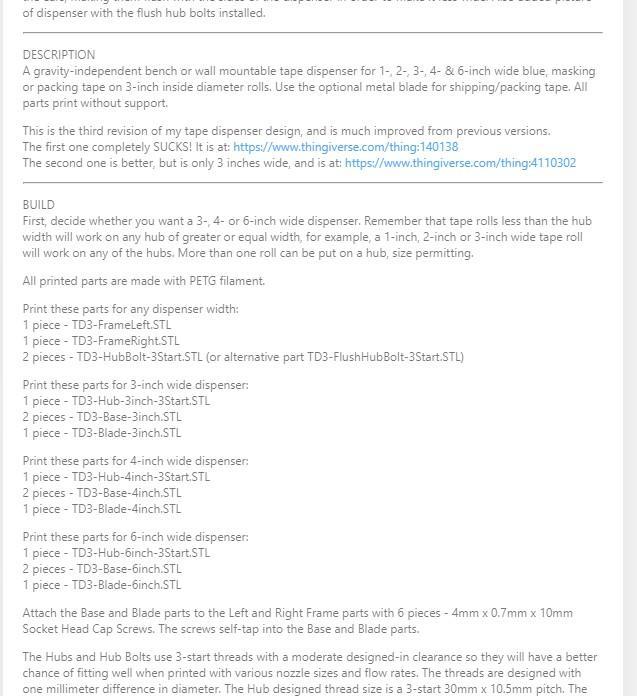
Some prints contain multiple parts or even multiple versions or sizes of the same part. This is often explained in the summary section, as seen here where you can see which parts you will need for which model size. Some very detailed summary sections even include assembly instructions for the final model:
On MyMiniFactory, all this same information can be found in the box on the right of the picture:

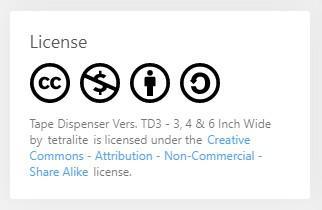
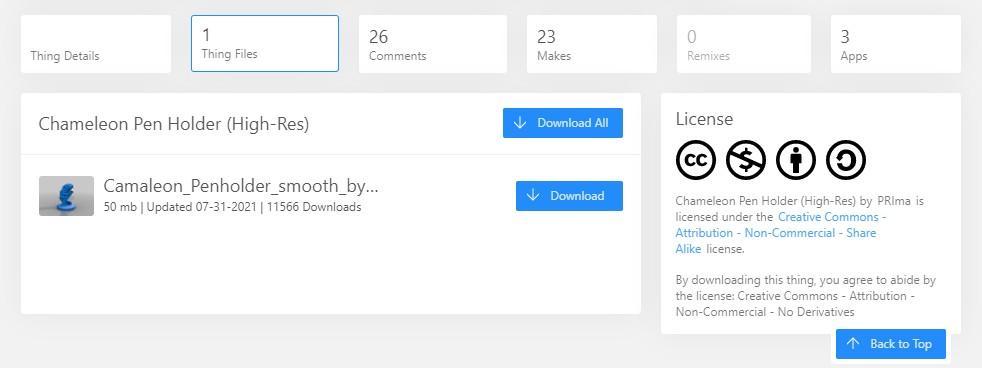
Another section you will find on all 3D print models is the licensing. It appears in Thingiverse at the bottom of the left column and in MyMiniFactory just below the description. When downloading and making a 3D print the copyright license must be followed. What you are and are not allowed to do with the file is indicated by a series of symbols. Thingiverse uses the standard Creative Commons symbols, and includes the type of license which is written out in a simple statement of what is and is not allowed to happen to the print file. The license below for example is a “Creative Commons – Attribution – Noncommercial – Sharealike” license. MyMiniFactory, on the other hand, uses their own set of symbols.
The next section will cover the meanings behind any licensing symbols you are likely to see in maker communities.
Creative Commons & Thingiverse Licensing Symbols and Meanings:
 This symbol, Creative Commons, simply means that the model is protected under Creative Commons licensing. It will always be there.
 This symbol, Attribution, means if you change the file in any way, re-upload the new remix to a site like Thingiverse, or publish the model in any other way (such as on your own website, in a video production, or for sale as a finished model), you must credit the designer who made the original model and link back to it.
 This symbol, Sharealike, means that if you change (remix) the design to make a derivative work, or just take the model and post it anywhere online, the new version must carry the same licensing rights. In other words, you can’t use the model and then place the derivative work under more restrictions than the original. The derivative work must also be freely sharable and remixable.
 This symbol, Non-Commercial, means that you can not use this model, or a derivative work (remix) to make money. You cannot place the work behind a paywall, or sell 3D printed versions of the model.
 This symbol, No Derivatives, means that you can not use this model in derivative works. No remixing is allowed on this model. Because of the generally cooperative nature of the 3D print community, you will not see this as often as the other four.
It is worth noting that some files on MyMiniFactory are not free. These license restrictions and attributes only apply to free print files. Any file being sold is protected under either a “standard digital store license” or an “official content license” and both of these offer much more robust restrictions. Purchased files should not be remixed, reuploaded to other sites, shared, or sold in digital or physical form.
MyMiniFactory Licensing Symbols and Meanings:
 This symbol means the file is free to download and use, but licensing restrictions must be followed. It is the equivalent of the Creative Commons symbol.
 This symbol means you must credit the original designer when posting links, photos, or videos of the object. It is the equivalent of the attribution symbol.
 This symbol means remixing is allowed. You may alter the model with 3D design software and post your variation.
 This symbol means the opposite, no remixing is allowed. You may not alter this object with 3D design software (and if you do, it is only for you) and you can not post variations or changes to the object.
 This symbol, just as it is in Thingiverse, means that you can not sell this model, either in digital form (by selling access to the .STL file or a remix of the STL.) or physically by printing the model and selling it.
 This symbol means you can use the model commercially, and have permission to sell it in a digital form or to produce it and sell the physical objects. In Thingiverse, if the noncommercial icon is not present, it is assumed to be commercial.
 This symbol means that the designer has made a deal with MyMiniFactory to exclusively host the model on their site. You can not post the object on other sites, like Thingiverse.
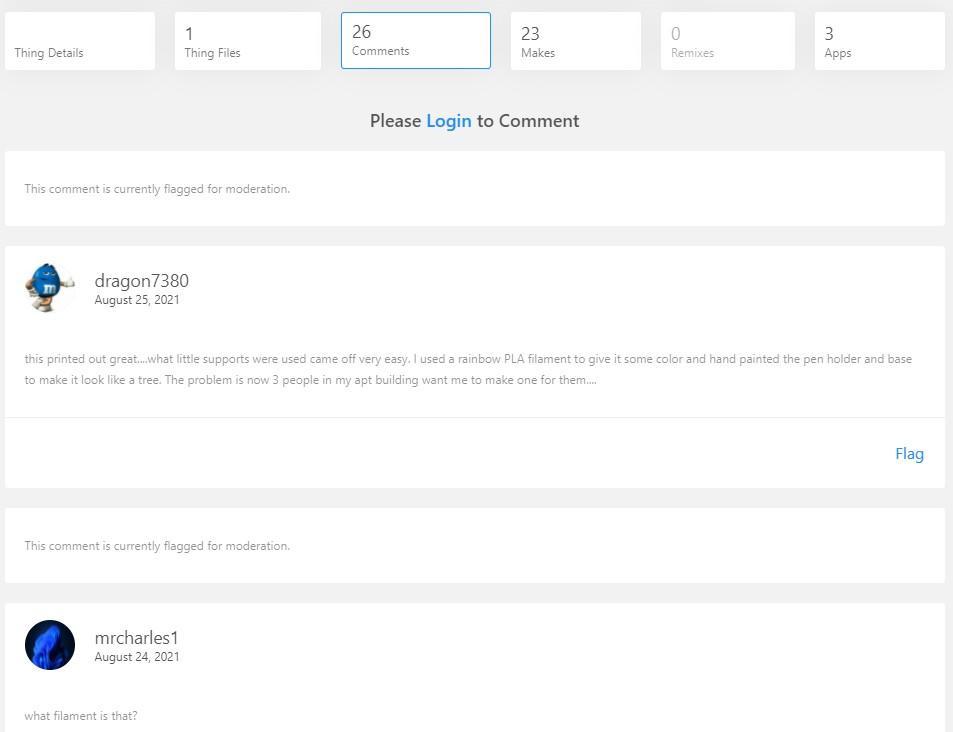
Another good tab to check on Thingiverse is the comments. If a print worked especially well, or didn’t work at all, there’s a good chance someone made a comment about it. Additionally, because of the value that the maker community places on open source work and collaboration, if the print had a flaw, you might find someone linking to a different version of the model (or a “remix”) that they made to solve the problem, or even just to add a function they wanted.
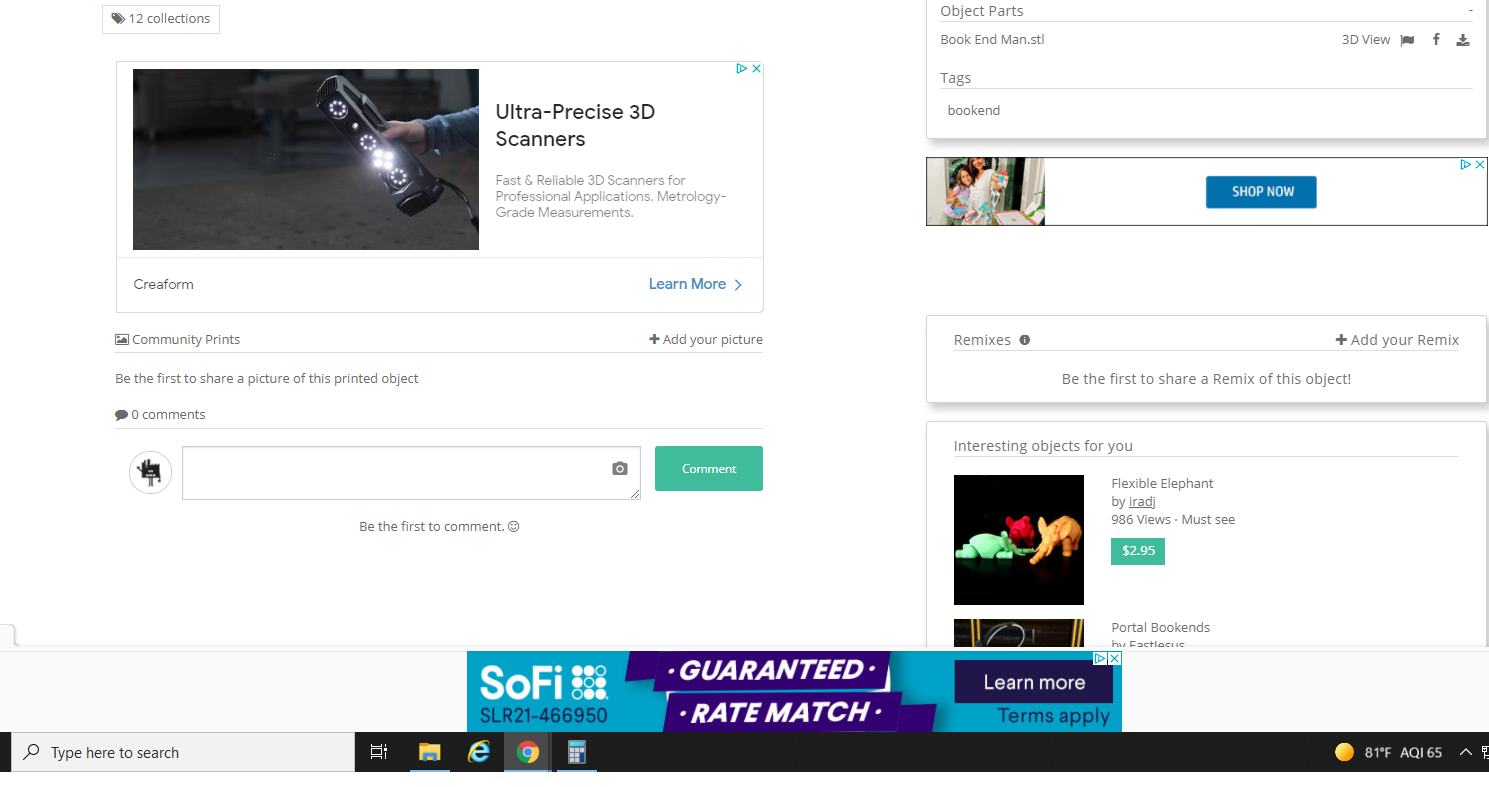
To find the comment section for MyMiniFactory, simply scroll down and you will find it below the pictures (there is usually an advertisement between the pictures and comments, as seen here).
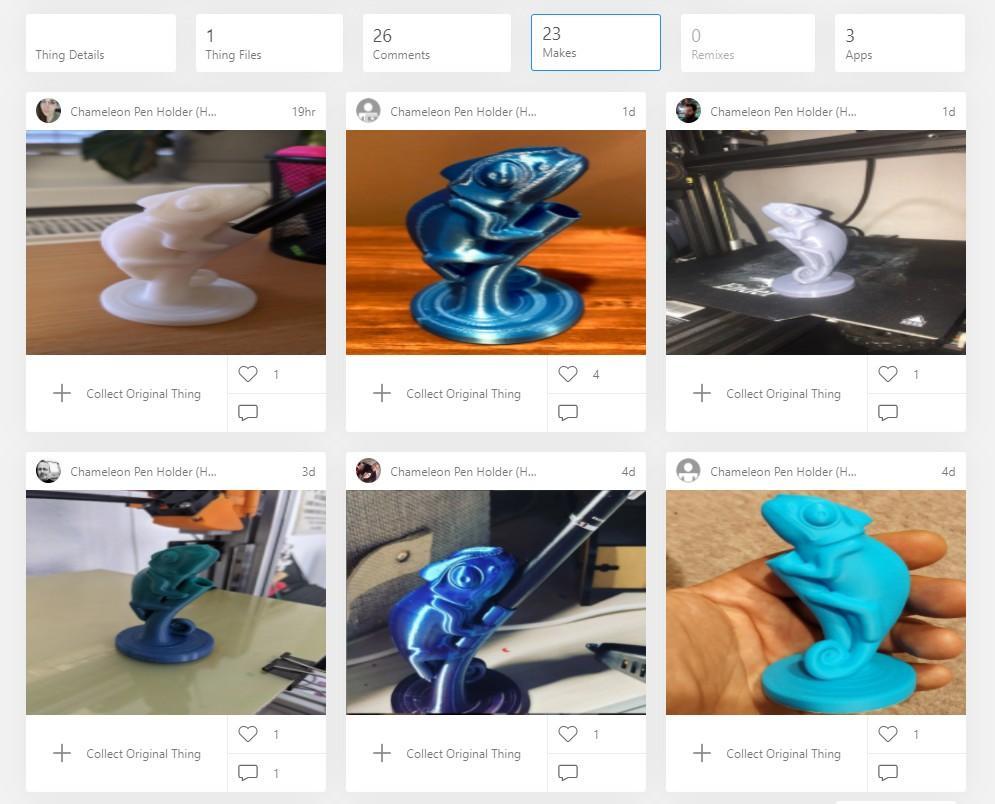
Although they are sometimes mixed in with the main pictures, the Makes tab of Thingiverse allows makers to show off their own printed versions of a model. A lot of successful makes means that it is very likely that it will print well.
Finally, located at the top and bottom of the summary in MyMiniFactory, and in its own tab, “Thing Files,” in Thingiverse, you will find the actual files of the model. Some models are printed as you see them, in one piece, and as such have one single file.
Others have many parts that must be assembled after printing to get a final product.

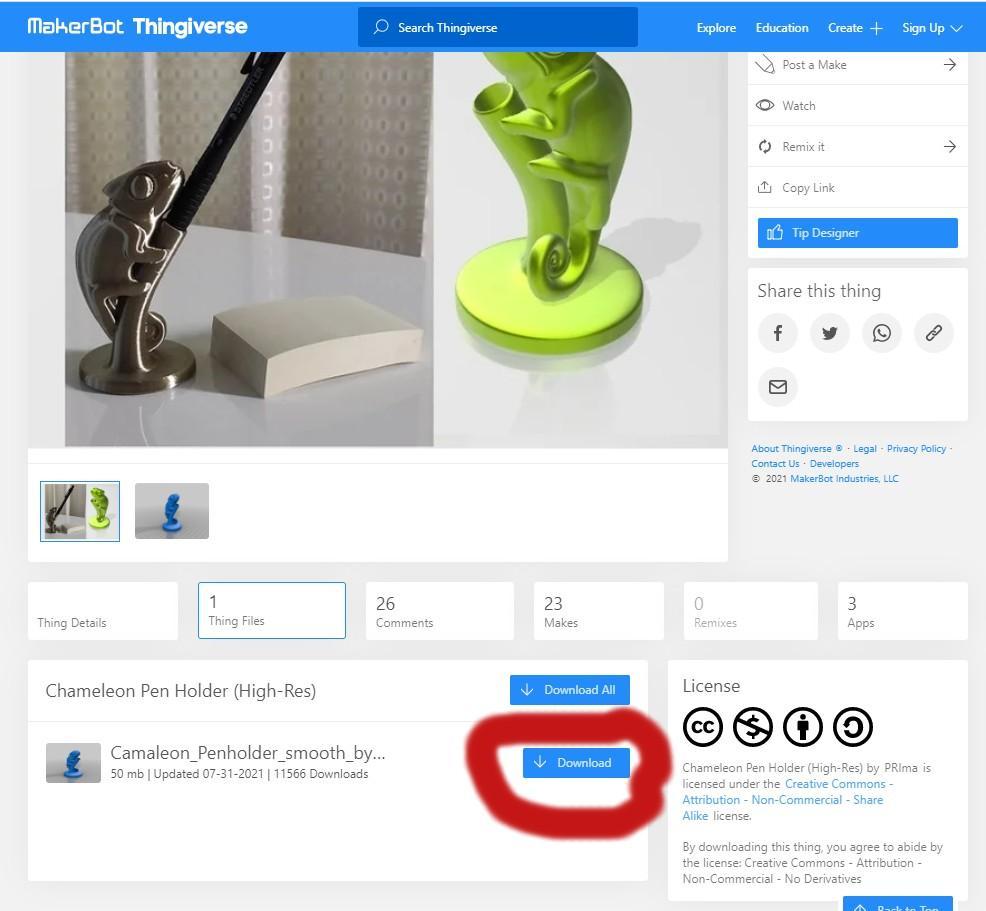
For today, we are going to use a simple, one part print: this chameleon pen holder. It’s one part, it’s pictures contain a printed version, there are many pictures of other people’s makes, and the comments are enthusiastic, so I think this should print out very well. To download the files you can either hit the Download button all the way at the top of the Files tab, or the Download button next to the individual file you want.
Download All will download all files in a zipped format. This is useful for multipart prints, but just an extra step for a single file print.
Click the Download button to the right of the file that you want to download. You’ll see the download start in the tray of your computer, and then…
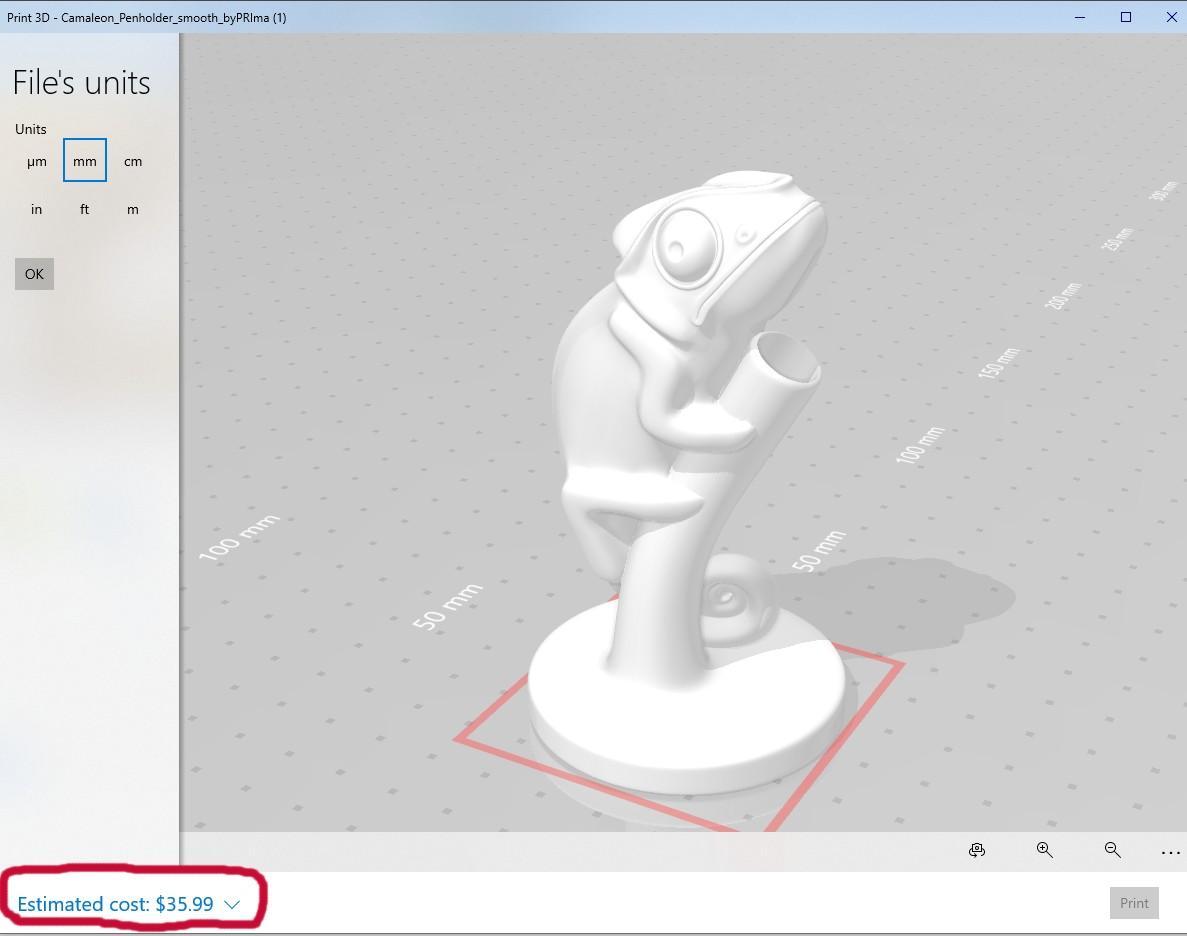
The file should automatically open a 3D viewer, where you can look at your model from all angles by clicking on the image and dragging the mouse to rotate it in virtual space.

You may notice a price in the bottom left. $35.99? For a pen holder? Don’t let it worry you. That is what a commercial 3D print company might charge you to print and ship the product to you, but it’s not what it will cost us. In fact, the cost for Reed Library to produce this print is less than $3.00.
Thanks for reading our first tutorial. You now have the knowledge to navigate catalogs of 3D models and know what these catalogs can tell you, how to vet a print that is likely to work from one that isn’t, what you are and aren’t allowed to do with your file after you download it, and how to download the print file. Thingiverse and MyMiniFactory have hundreds of thousands of these files available to download and request, organized into a wide variety of categories and themes, from home goods and decorations to gadgets and tabletop board games. No matter your interest, hobby, or fandom, there is a 3D print file you’d love just waiting for you to find and print it. It’s like shopping, but free, so have fun and find yourself some 3D printed goodies!
Our next tutorial in Chapter 2 will teach you how to format and prepare a simple, one-part print file in the Makerbot Print software.
