3 Tutorial 3 – Re3D Request Process
Re3D Request Process
Amanda Shepp and Christopher Shepp
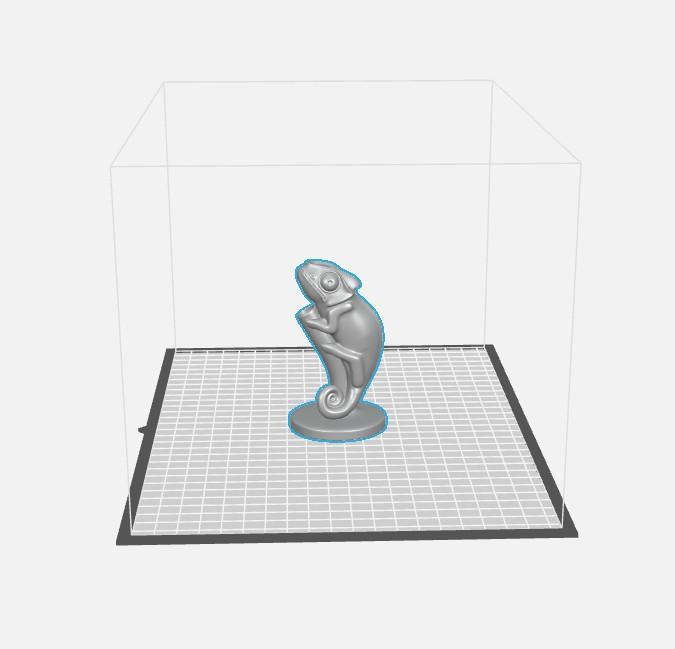
Welcome to RE3D Tutorial 3. In this tutorial, we will show you how to place a request with RE3D, explain the questions in our request form, and walk you through the process of what happens here at RE3D once your request has been received. This tutorial is intended to follow Tutorial 1 & Tutorial 2, in which we selected and prepared a simple 3D file for printing. If you’re just joining us, the files we are using in this tutorial can be downloaded here.
We can close out of MakerBot Print and open a web browser, where we will navigate to the RE3D home page.
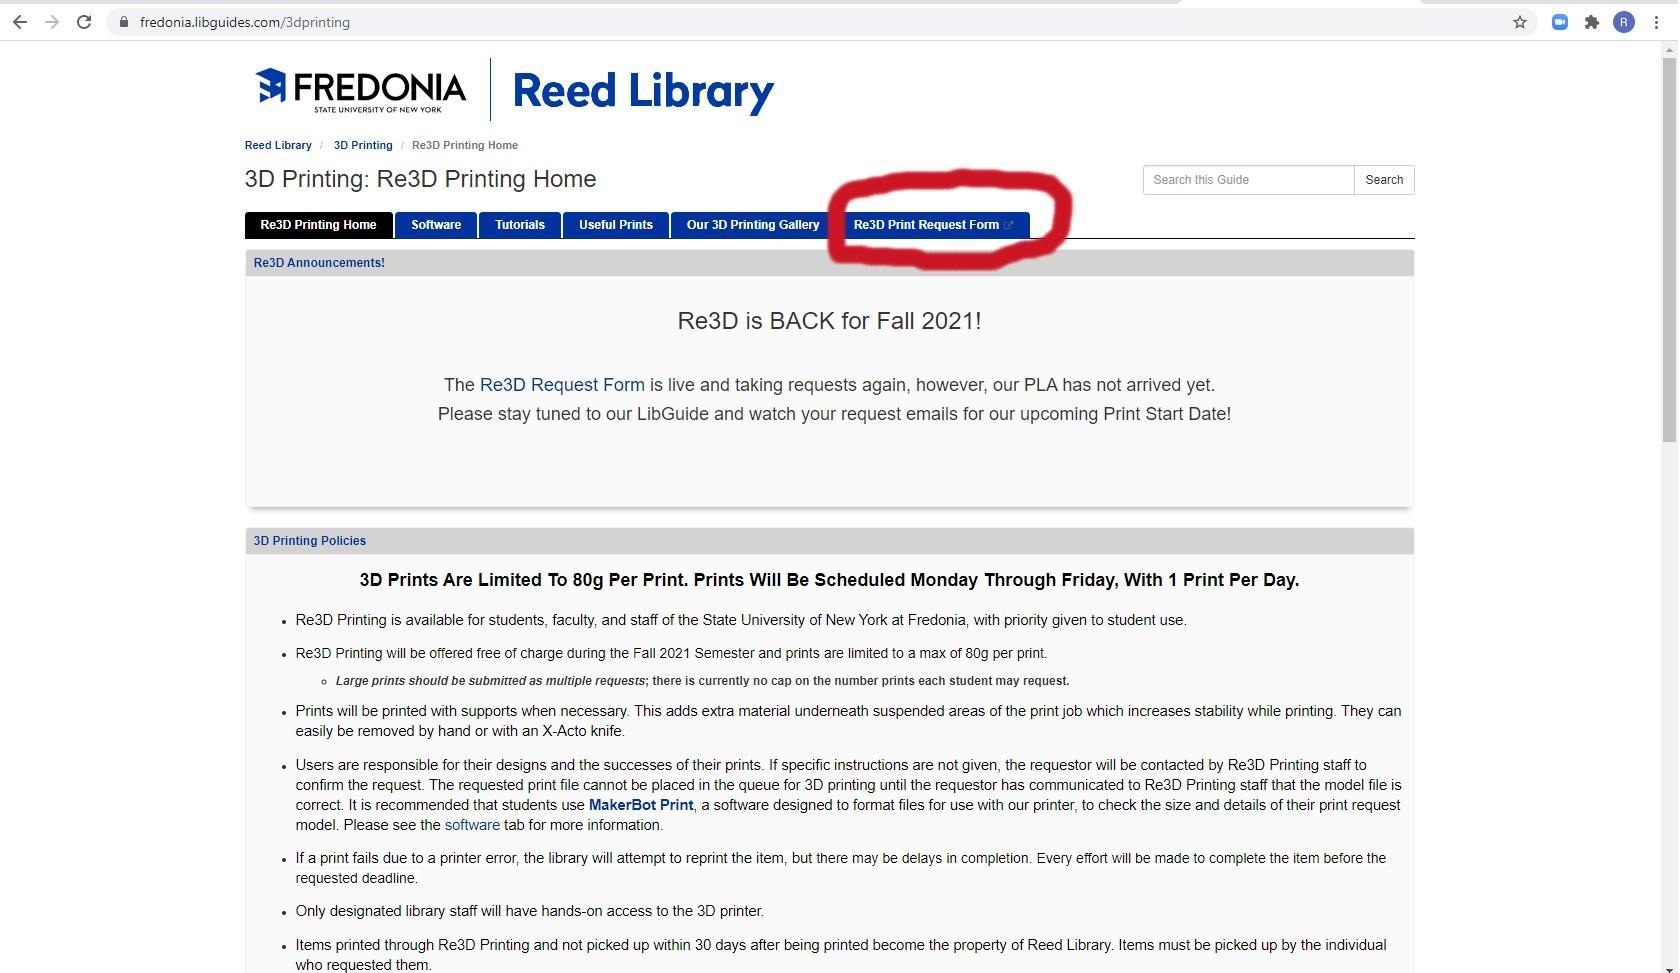
On this website, you will find a plethora of information on RE3D and 3D printing in general, including this tutorial, and more, such as the current PLA color being used and a gallery of this year’s 3D prints. Click the RE3D request form tab and it will automatically open the request form in a new window.
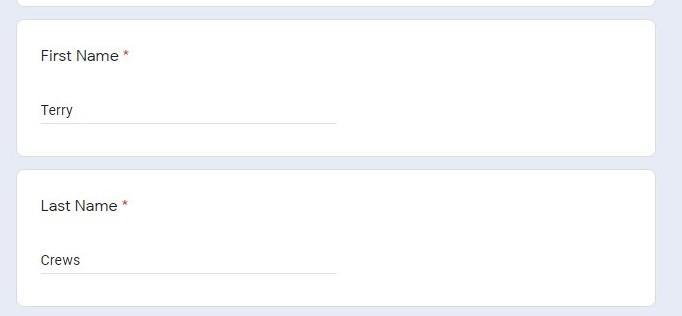
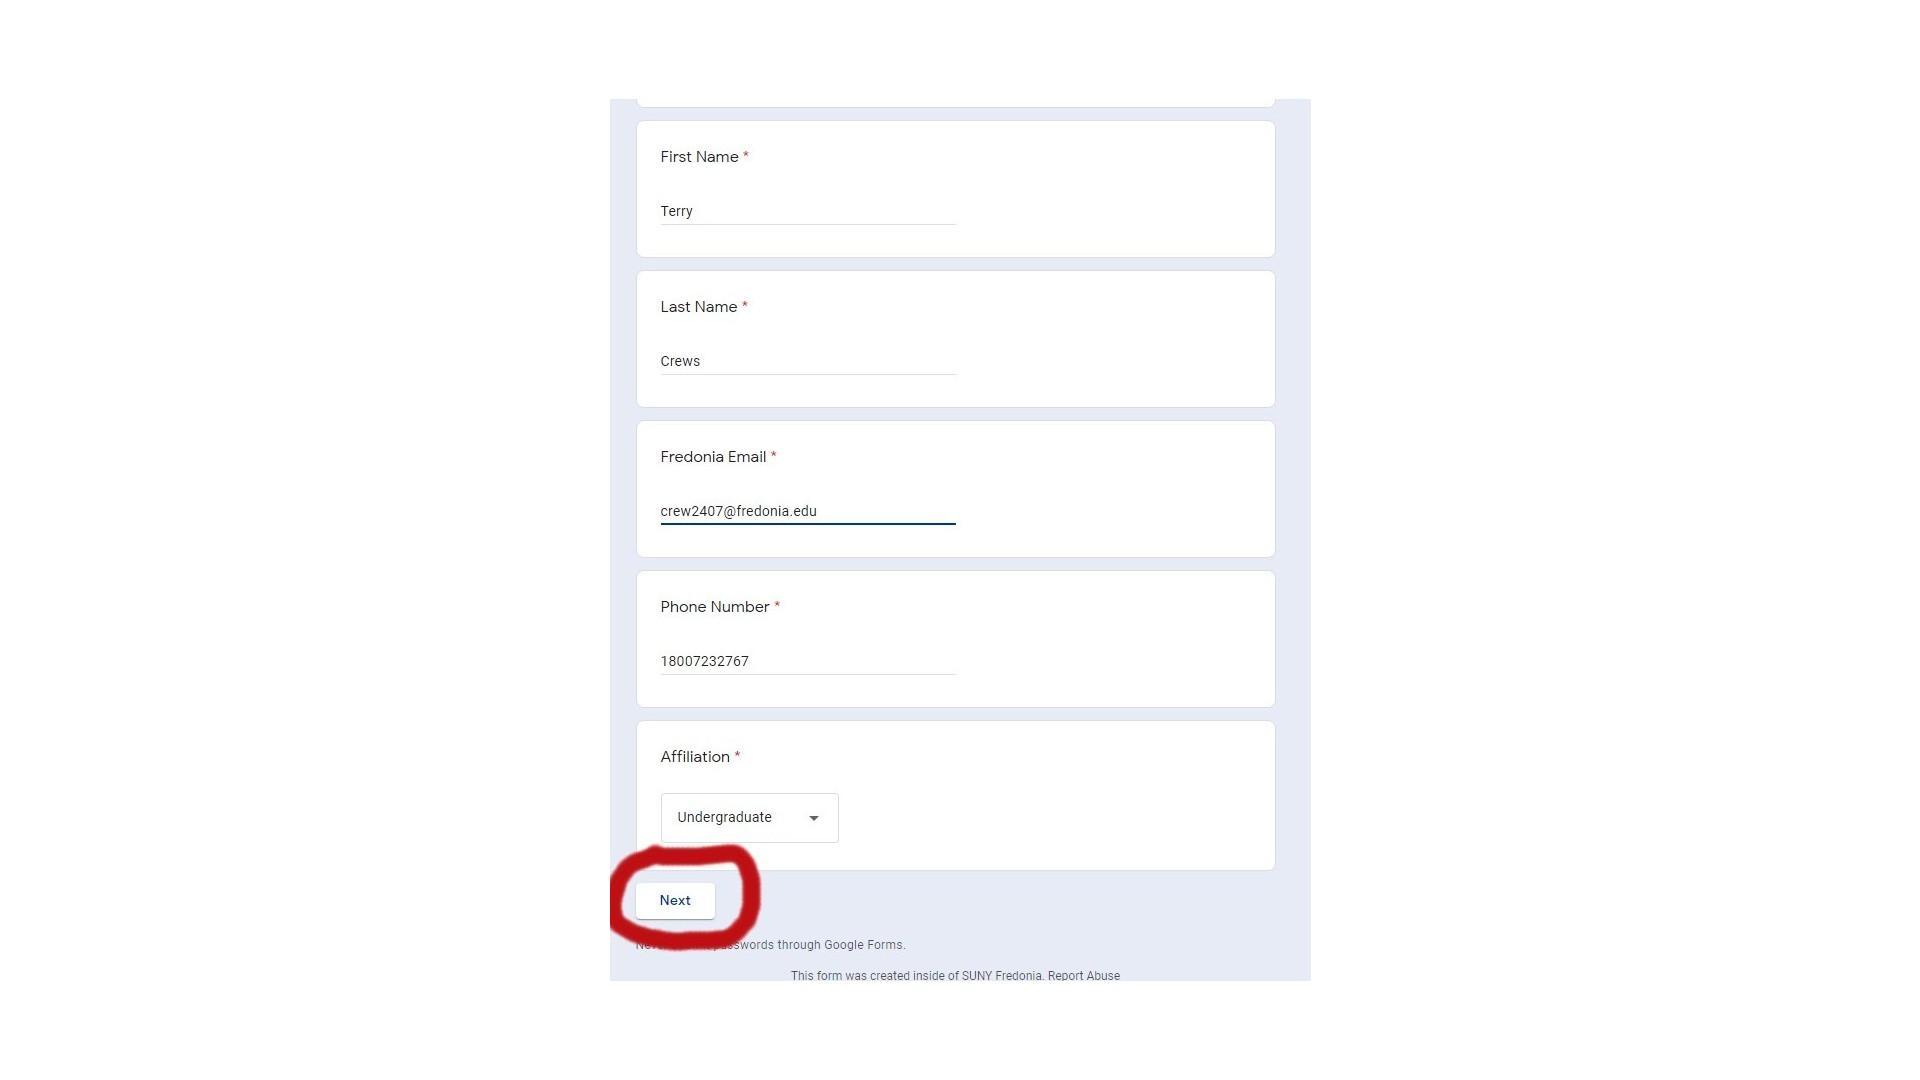
Fill in the first page of the form with your contact information. This is so we can contact you when your print is scheduled and again when it is ready to pick up.
You can use your preferred name, whatever it may be, in the name fields. This is the name we will use in any correspondence with you.
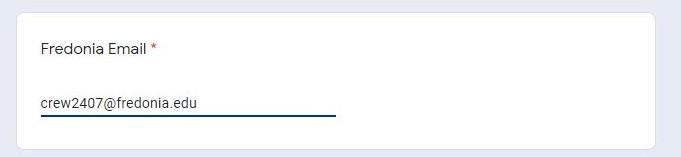
You are required to use your fredonia.edu email address to request prints, this is to ensure that only students, faculty, and staff of SUNY Fredonia can reap the benefits of RE3D’s free 3D printing services. Please make sure you keep an eye on your inbox because this is how we will let you know your print is scheduled and ready for pickup.
The final piece of contact information we ask for is your affiliation: undergrad, grad student, or faculty and staff. This information is strictly for our statistical purposes, and no affiliation is given preferential scheduling. All prints are filled on a first come first serve basis.

Now with the contact information filled in, you can click Next to progress to the next page of the form.
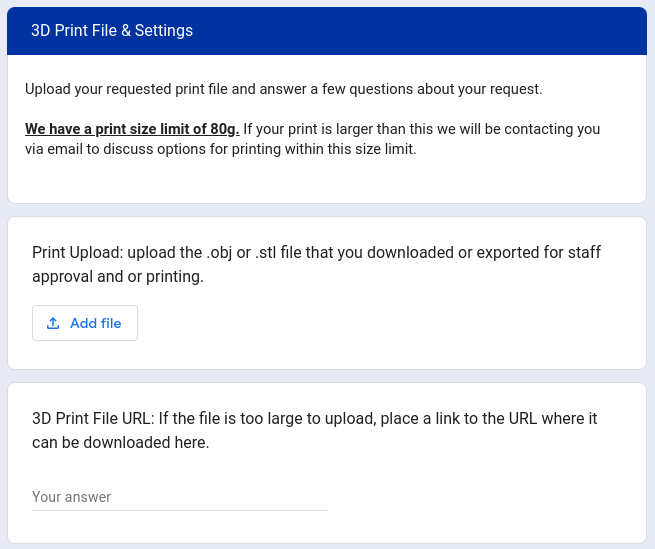
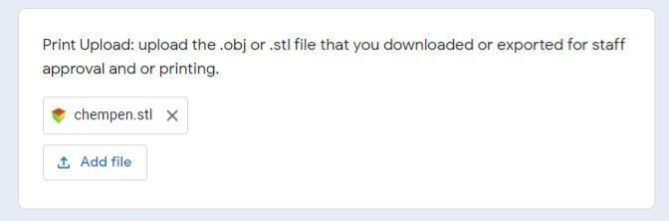
On the next page of the request form, you will find a file upload box. Click the “Add File” button to add your print files to your request.
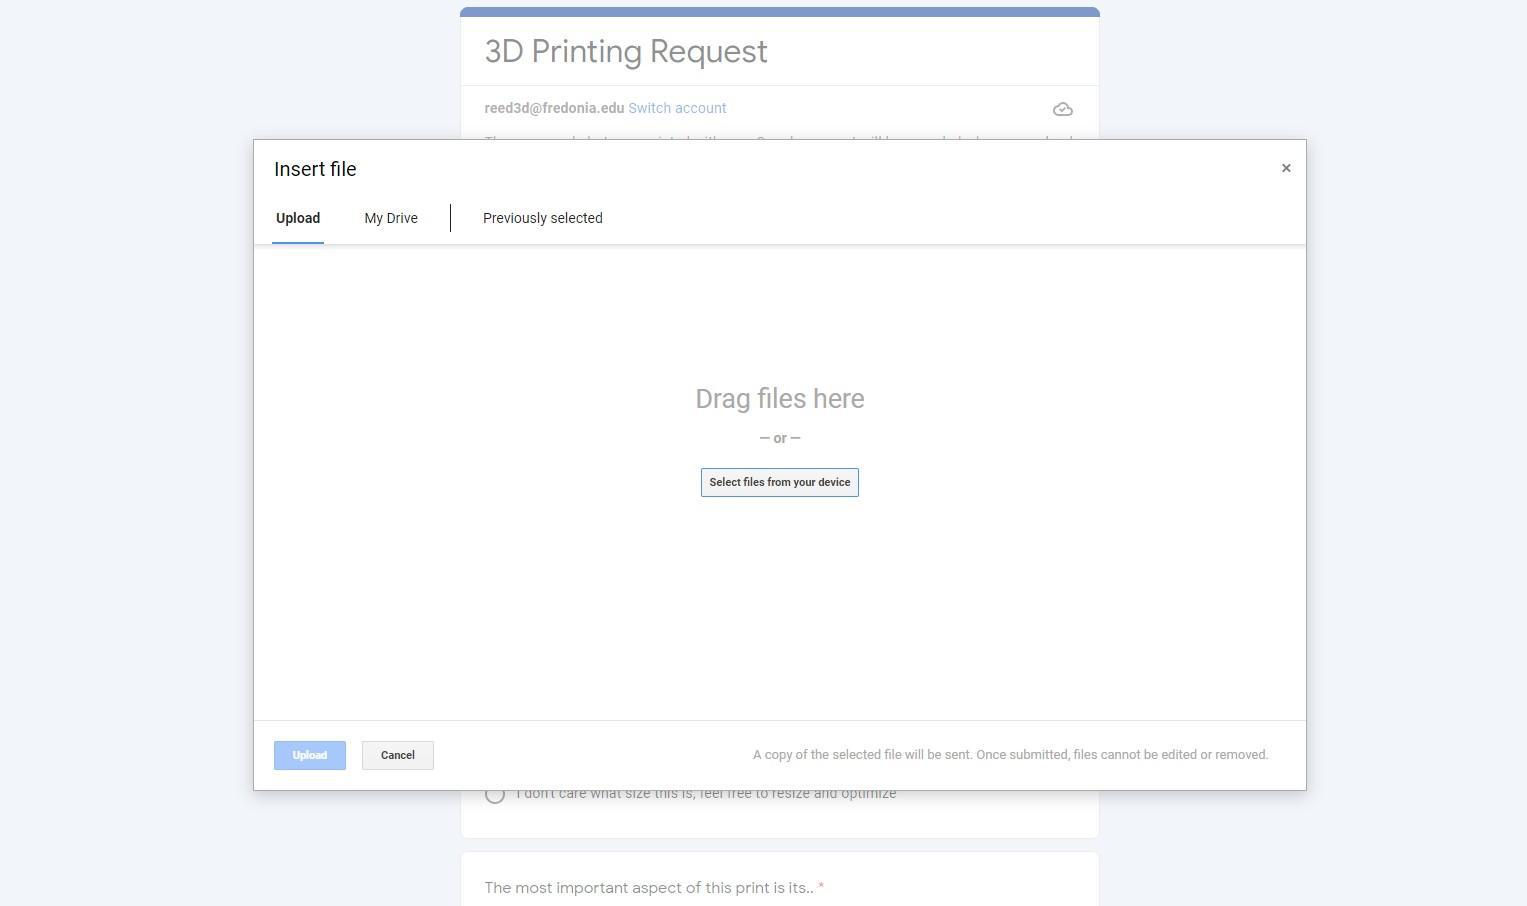
A file explorer box for you to upload the file you want printed will open. You can either drag and drop the saved .stl file into the open space, or click the “Select files from your device” button to open a file browser.
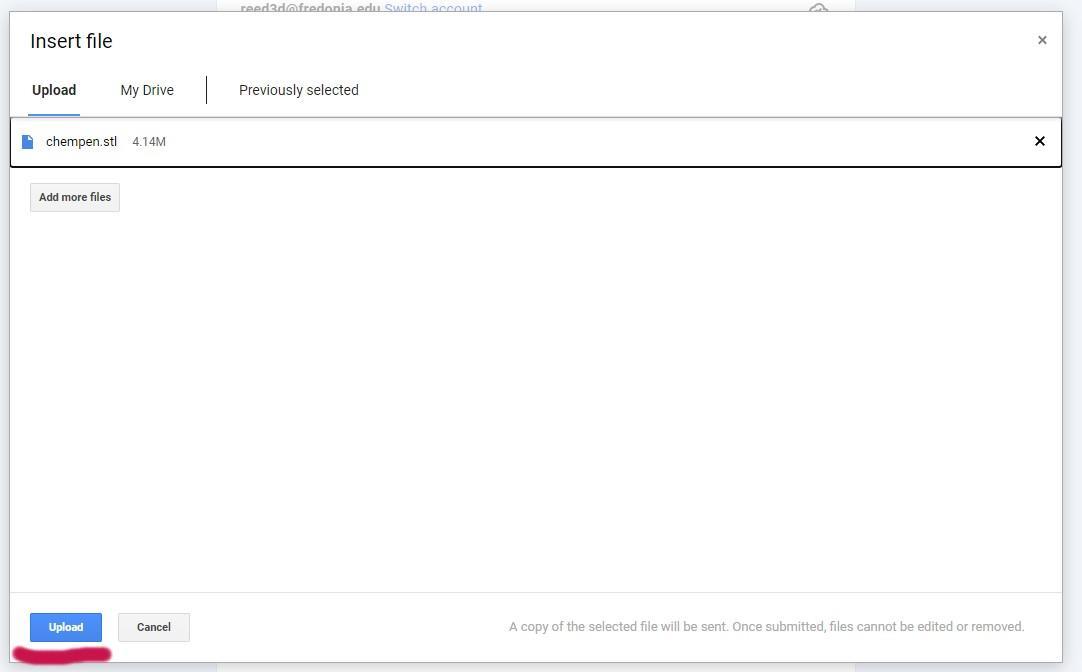
When you have selected a file it will appear in the box. Make sure that you are uploading the .stl or .obj file that you exported (or the original file you loaded into MakerBot Print) in this box. If you have multiple files in the same request, there is a button to add more files, and when you’re finished click the Upload button at the bottom left of the box.
After the file uploads, you will be returned to the form, and your file will now be visible in the box.
Additionally, there is a blank space underneath the file upload boxes for you to enter the URL of where the print files came from (such as Thingiverse) if your print file is too large for upload into the form. This way, Re3D staff can download the files for you and better understand the printing parameters for your requested print.
Now there are only a few questions to answer and your work is done!
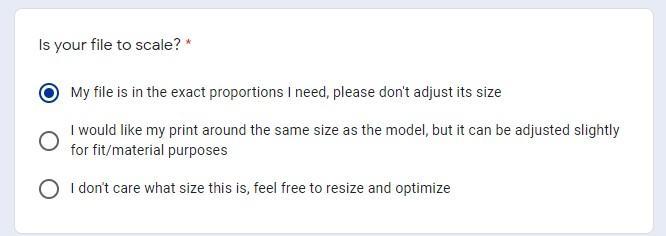
The first question is “Is your file to scale?” For some projects, like a penholder, for instance, size is important: if it is either too small or too big it won’t hold a pen. For others, such as desktop decorations, a change in size may not matter at all. Some projects, like D&D mini-figures, could be changed in scale slightly, but should roughly be around the size submitted to fit in with purchased game figures. Because we know our pen holder isn’t over the 80 gram limit, and that its size shouldn’t change, we’ll select the top option to keep its exact proportions. If you choose the bottom option, we will do our best to print your model at an optimized scale. It won’t be as big as possible, but we won’t shrink items below 80 grams to save material. We always strive to get you the best quality print we can.
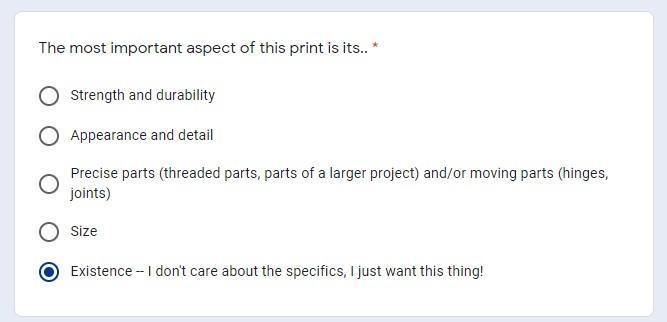
In the next question, we ask what attribute of this 3D print you find most important. Your answer allows us to tweak the print settings to fit your needs. If you need strength and durability, and your weight isn’t too high, we might increase the infill or add extra shells to make it tougher. If the goal is better appearance and detail, we may reorient the object to minimize the visibility of layer lines and supports. To print precise parts, we could slow the printer down to decrease the chance of small errors. If size is most important, we may lower the infill and try to minimize support material to make the print larger. For some projects just having the print is the goal, so for those projects, we’ll keep our settings balanced and get you your thing.
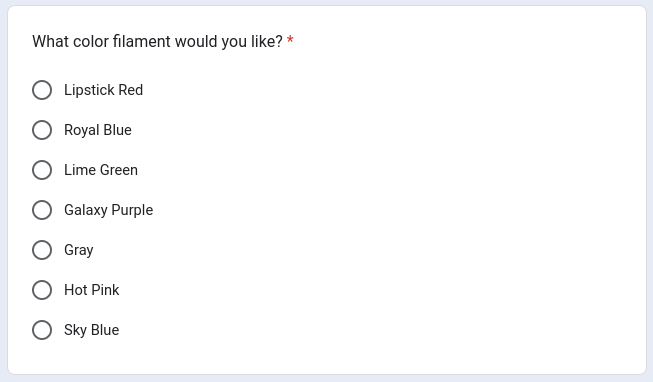
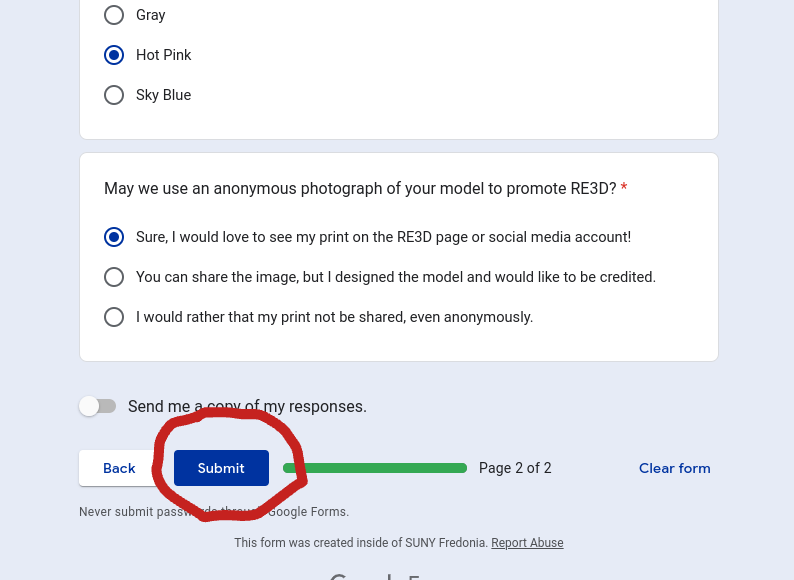
The next question is regarding filament color options. We try to keep a selection of colors available, and are currently working on options for printing in specialized filaments such as woodfill and steelfill.
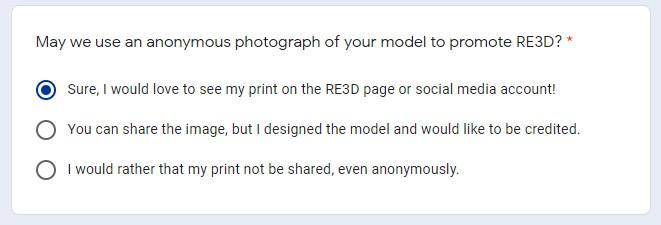
The final question is whether or not we can share an image of your print on the RE3D website. We like to make a gallery of finished prints each year. If you select the top answer, as we did, a photo of your finished print will appear in the gallery, as well as the file name of the object. If you designed or remixed the object and would like to receive credit for it, use the second option, and “Printed/Created by” your name will appear along with the photo and file name. With the last option, we will respect your privacy and no photos of your print will be taken or posted.
Once the questions have been answered click the Submit button, and your work is done. Within a few days, you will receive an email, letting you know your print has been approved, and when it is scheduled to be printed, along with any questions or comments from the person operating the printer. You will also receive an email when your print has been started, and when it is available to pick up at the REED2GO area near the main Reed Library entrance.
And that’s all there is to it! Now you understand the process of submitting a 3D print request. RE3D does not limit how many of these requests can be submitted, so feel free to dig into 3D print sites for things you might like, and put in those requests. We’ll be waiting to print them.
Join us in Tutorial 4 to find out what happens behind the scenes at RE3D when we receive a print request and our process of turning your request into a 3D object. Or skip ahead to Tutorial 5 to learn more about how you can adjust the scale and position of objects and work with multiple build plates within the MakerBot Print software to process larger prints with multiple parts across several print requests.
